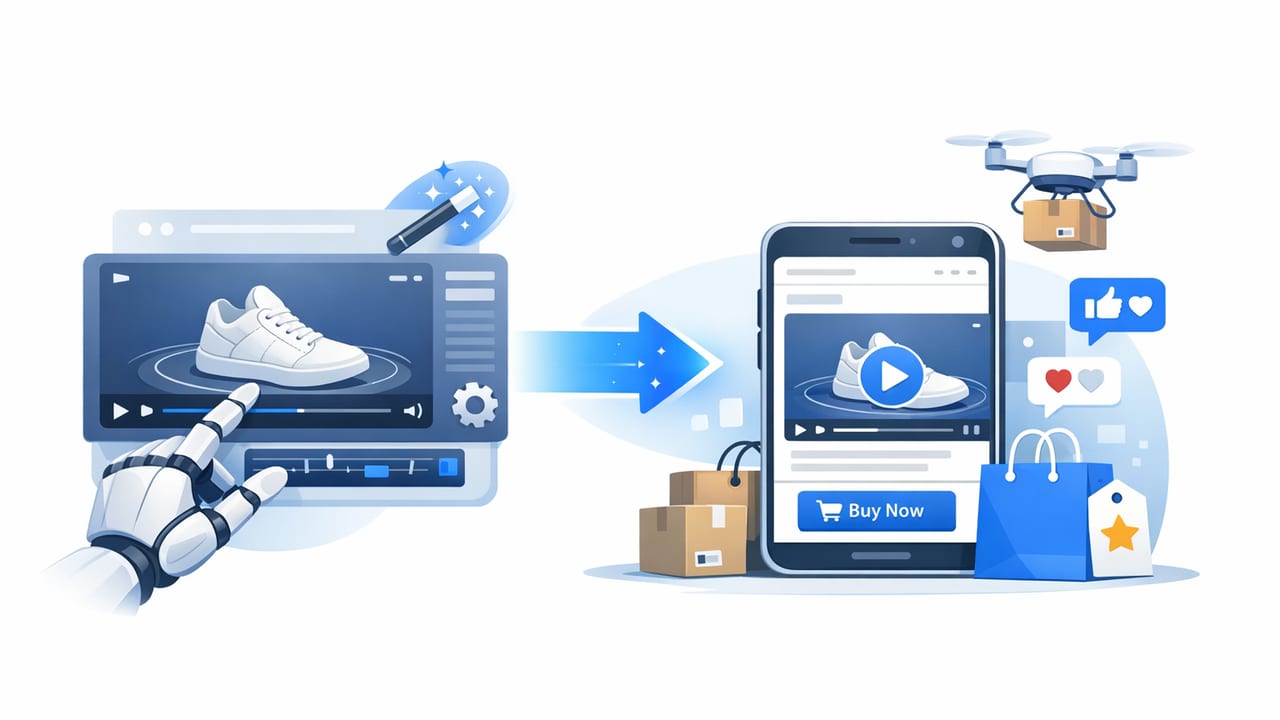
An effective ai product video for ecommerce does one job better than any static image: it reduces uncertainty. Shoppers can see scale, texture, use context, and key differentiators in seconds—without reading a long description. The good news is you don’t need a full studio shoot every time you launch a new SKU or refresh a product detail page (PDP). With the right product photography inputs and a repeatable workflow, AI-assisted video creation can help you produce consistent, conversion-focused clips faster.
This guide breaks down a practical process for turning product photos into ecommerce-ready videos, including shot planning, creative templates, specs, quality control, and measurement—so you can ship videos that support both video marketing and on-site performance.
Why AI product video works so well in ecommerce
Ecommerce shoppers can’t pick up the product, so your visuals must answer the questions that normally get resolved in-hand. Motion helps in three ways:
- Clarity: quick angle changes and callouts show details that a single hero image can’t.
- Comprehension: micro-demos communicate “how it works” faster than text.
- Confidence: packaging, scale references, and close-ups reduce perceived risk.
AI accelerates that process by repurposing existing product photography, automating transitions, generating captions, and producing multiple variations for different placements (PDP, ads, social, email).
Start with the right product photography inputs
AI video quality is limited by the assets you feed it. Before generating anything, assemble a photo set that supports visual storytelling.
Minimum photo set (recommended)
- Hero (front) on clean background (high resolution, even lighting)
- Back/side angle to show construction and silhouette
- Detail macro (texture, ports, stitching, ingredients, controls)
- Scale cue (in hand, next to common object, on body, or near packaging)
- Context/lifestyle image (use case, environment, outcome)
- Packaging + what’s included (contents laid out)
Photography quality checklist
- Consistent white balance and exposure across images
- Sharp focus on the selling detail (labels, texture, edges)
- Room for safe crops (leave margins; don’t crop too tight)
- Clean backgrounds (or clean subject masks if using lifestyle)
Rule of thumb: If a shopper can’t identify your key differentiator in a still photo, an AI video won’t magically fix the underlying ambiguity. Fix the input first.
Pick a video goal before you pick a template
The biggest mistake in ecommerce content creation is starting with “make it look cool” instead of “make it answer a question.” Choose one primary goal per clip:
- Explain: what it is, who it’s for, and why it’s different
- Demonstrate: how it’s used and what happens after use
- Validate: proof points (materials, testing, ratings, guarantees)
- Compare: sizes, variants, before/after, competitor-style comparison
When you define the goal, your visuals, captions, and pacing become much easier to standardize.
A repeatable storyboard for photo-to-video
Here’s a proven 6-scene structure that works well for short ecommerce videos (10–20 seconds) built from photos:
- Hook (0–2s): outcome or differentiator in one line (e.g., “No-spill lid, one-hand open”).
- Hero reveal (2–4s): clean product shot with brand + product name.
- Key feature 1 (4–7s): macro + caption callout.
- Key feature 2 (7–10s): angle change + icon/benefit label.
- Scale / what’s included (10–14s): packaging, dimensions, or contents.
- CTA (14–20s): “Shop now,” “Choose your size,” “See colors,” etc.
This storyboard supports brand engagement because it delivers the product story in a predictable rhythm: hook → proof → reassurance → action.
Creative patterns that look “premium” (without heavy production)
AI-assisted motion can easily look templated if every clip uses the same zoom-and-pan. Mix a few patterns to keep output fresh while staying on-brand:
- Feature spotlight: dim background, highlight a detail area, add a short label.
- Variant carousel: show color/size options with consistent framing.
- Before/after split: ideal for skincare, cleaning, organization, and accessories.
- Callout stack: 3 benefits appear one by one while the hero stays centered.
- Texture loop: macro detail + subtle parallax for materials/ingredients.
Specs: match video format to placement
Your ai product video for ecommerce should be exported with the destination in mind. Use this table as a baseline (always confirm platform requirements):
| Placement | Aspect Ratio | Length | Best Use | Notes |
|---|---|---|---|---|
| PDP (on-site) | 1:1 or 16:9 | 10–30s | Reduce uncertainty, show details | Include captions; many shoppers view muted |
| Reels/Shorts/TikTok | 9:16 | 6–20s | Hook fast, highlight 1–2 benefits | Big text, safe margins, strong first frame |
| Paid social ads | 1:1 or 4:5 | 8–15s | Performance-driven messaging | Test multiple hooks; keep brand early |
| Email embed/landing | 1:1 or 16:9 | 6–15s | Quick skim + click-through | Use lightweight files or GIF preview + video link |
Workflow: how to generate AI product video from photos
You can keep your process simple and still systematic. Here’s a step-by-step approach that scales across SKUs.
1) Organize assets (naming + folders)
Create a consistent naming convention so your team (and future you) can find the right photo fast.
SKU123/
  01_hero_front.jpg
  02_angle_side.jpg
  03_macro_feature_lid.jpg
  04_scale_in_hand.jpg
  05_lifestyle_kitchen.jpg
  06_packaging_whats_included.jpg
2) Write a one-clip script (even if it’s silent)
Silent video still needs a “script” in the form of on-screen captions. Keep each caption under ~6 words and prioritize benefits over specs.
- Good: “One-hand, no-spill open”
- Good: “Keeps drinks cold longer”
- Less effective: “Double-wall vacuum insulation” (use only if your audience cares)
3) Choose transitions that match the product
- Hard cuts for modern tech and accessories (feels crisp).
- Soft fades for beauty and wellness (feels gentle).
- Parallax/push-in for premium materials (adds depth).
4) Generate 3 variants, not 1 “perfect” video
Performance usually comes from testing. Create small, meaningful variations:
- Different hook line (benefit A vs benefit B)
- Different first frame (hero vs lifestyle)
- Different order of features (top seller vs most misunderstood)
5) Add captions and design for mute
Assume most views are muted. Use high-contrast text, consistent typography, and keep captions inside safe areas so they don’t collide with UI buttons.
On-site SEO boost: add VideoObject schema to your PDP
If you host product videos on your site, structured data can help search engines understand your content. Here’s a simplified VideoObject example you can adapt (confirm with your implementation and policies):
<script type="application/ld+json">
{
  "@context": "https://schema.org",
  "@type": "VideoObject",
  "name": "Insulated Bottle - No Spill Lid Demo",
  "description": "Quick overview showing lid, texture, and what’s included.",
  "thumbnailUrl": "https://example.com/thumbnails/sku123.jpg",
  "uploadDate": "2025-01-15",
  "duration": "PT15S",
  "contentUrl": "https://example.com/videos/sku123.mp4",
  "embedUrl": "https://example.com/products/sku123"
}
</script>
This won’t replace solid product photography, but it can complement a broader SEO strategy when paired with clear on-page copy and fast-loading media.
Quality control checklist (so AI videos don’t look “off”)
- Brand consistency: same fonts, colors, and corner radius on labels
- Legibility: captions readable on mobile in 1 second
- No misleading motion: avoid effects that distort size or shape
- Accurate colors: verify variants match the actual product
- Safe crops: nothing important clipped in 9:16 and 1:1 exports
- Compliance: claims (e.g., “clinically proven”) backed and approved
Measure what matters: how to evaluate performance
For ecommerce, evaluate video success in two environments: on-site and off-site.
On-site (PDP) metrics
- Video plays and completion rate (are shoppers watching?)
- Add-to-cart rate for visitors who watched vs didn’t
- Return rate (motion that clarifies can reduce mismatched expectations)
Off-site (ads/social) metrics
- Thumbstop / 3-second view rate (hook effectiveness)
- CTR (message-market fit)
- CPA/ROAS (business impact)
When analyzing results, don’t only ask “Did the video win?” Ask why. Often the winning variant has a clearer first frame, fewer words, or a better feature order—not necessarily fancier motion.
Common pitfalls (and fixes)
- Pitfall: Too many features in one clip.
Fix: Cap at 2–3 benefits; create additional clips per use case. - Pitfall: Text-heavy videos that feel like slides.
Fix: Use icons + short captions; let product photography carry the story. - Pitfall: Generic templates across different categories.
Fix: Match pacing and transitions to category expectations (beauty vs tools vs apparel). - Pitfall: Inconsistent exports across channels.
Fix: Maintain a spec sheet and export presets per placement.
FAQ
How long should an AI product video be for ecommerce?
For most products, 10–20 seconds is enough to communicate the core value, show details, and include a CTA. Use longer clips (up to ~30 seconds) for complex products or PDP explainers.
Do I need sound?
No. Design for mute first (captions, clear visuals). If you add sound, keep it subtle and ensure the message still works without it.
Is photo-to-video better than filming?
They complement each other. Filmed demos are great for motion-dependent products; photo-to-video is excellent for scalable coverage across many SKUs, rapid testing, and consistent brand presentation.
Conclusion: a scalable way to improve visual storytelling
A strong ai product video for ecommerce is less about flashy effects and more about disciplined clarity: the right photo inputs, a tight storyboard, captions that sell benefits, and exports tailored to each placement. Build a small library of templates (hook, feature spotlight, variant carousel), test variations, and treat video as a system—not a one-off creative project.
If you’re exploring photo-to-video workflows and want a streamlined way to produce consistent clips from existing product images, platforms like UGCMade can fit neatly into that process without requiring a full production setup.
