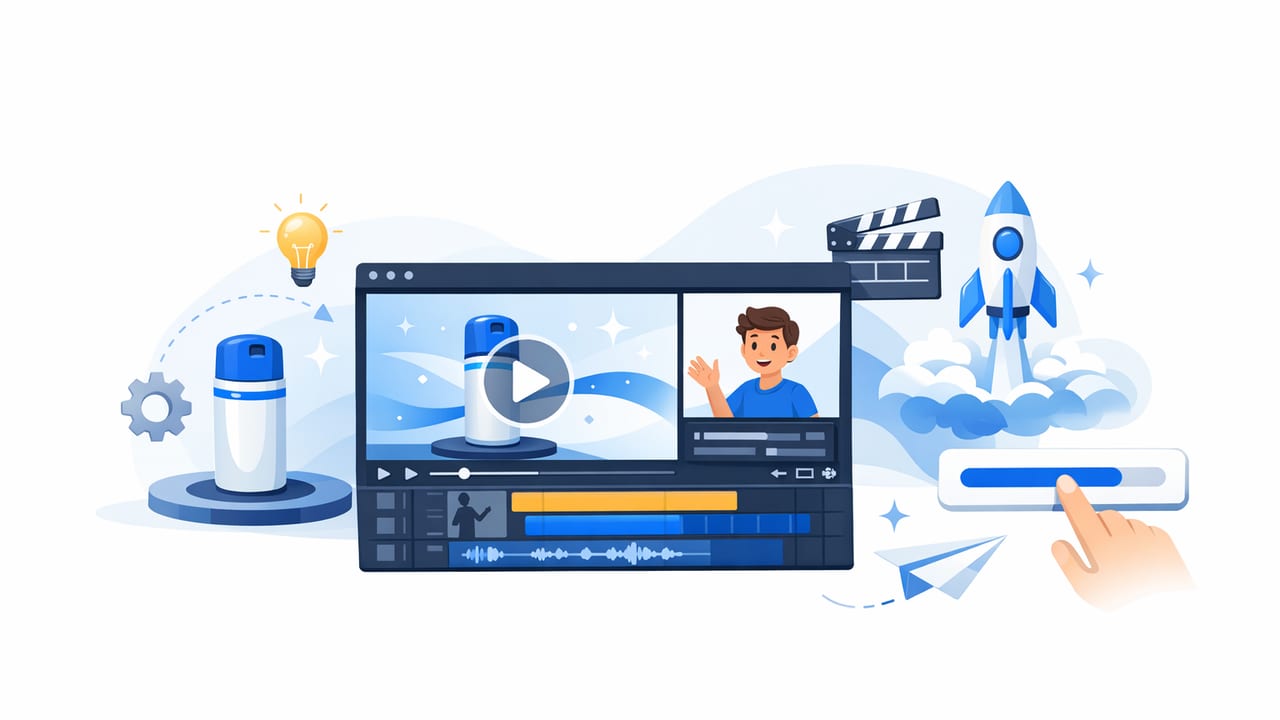
An animated product video is one of the fastest ways to upgrade a product listing, ad, or social post without a full video shoot. If you already have solid product photography, you can add motion (pans, zooms, transitions, text, and sound) to create a clip that feels native to modern feeds—while keeping production lightweight and repeatable.
This guide walks through an end-to-end workflow: planning, photo prep, animation techniques, editing structure, platform specs, and optimization tips. The goal is simple: help you consistently produce animated product videos that communicate value fast and drive action.
Why animated product videos work (even with “just photos”)
- Motion captures attention: subtle movement signals “video” in a scrolling environment, increasing the chance viewers pause.
- You control the message: overlays, callouts, and sequencing help you highlight benefits and differentiate quickly.
- Repurposing is efficient: one photo set can become multiple variants (hooks, angles, formats) for testing.
- They’re ideal for ecommerce: product details, use-cases, sizing, and before/after stories are easy to structure visually.
Start with a “one-sentence promise”
Before you touch editing tools, define a single promise the video must communicate. This reduces clutter and improves conversion clarity.
Examples:
- “A spill-proof tumbler that keeps drinks cold all day.”
- “A serum that reduces visible redness in 2 weeks.”
- “A minimalist backpack that fits a 16-inch laptop and stays organized.”
Write it down and keep it visible while editing. Every frame should support it.
The 10–15 second structure that consistently performs
Most winning animated product videos follow a tight structure. Here’s a reliable template for a 12-second clip:
- Hook (0–2s): a bold claim, a problem statement, or an outcome.
- Proof (2–7s): show the product, key feature callouts, texture/detail, or “how it works.”
- Use-case (7–10s): where/when it’s used, who it’s for, what changes.
- CTA (10–12s): “Shop now,” “Learn more,” “See shades,” “Choose your size,” etc.
Sample script (text overlays):
“Tired of cables everywhere?”
“Magnetic organizer clips • 3-pack”
“Stick, snap, and route in seconds”
“Clean desk, instantly”
Photo checklist: what you need for smooth animation
Great animation starts with the right stills. You don’t need dozens—8–14 strong images is often enough for a punchy video.
- Hero shot: the clearest “what is it?” photo for the opening or mid-video reveal.
- Detail shots: texture, stitching, nozzle, material grain, ports, labels.
- Scale/context: in-hand, on-body, next to common objects, or in the environment.
- Use-case sequence: 2–4 images that imply steps (open → pour → close, etc.).
- Outcome image: organized space, finished look, clean before/after.
- Optional trust frame: warranty, rating snippet, award badge (keep it tasteful and accurate).
Prep tip: Export images at the same aspect ratio you’ll edit in (typically 9:16 for short-form). This prevents awkward cropping later.
Animation techniques that look premium (and don’t feel like a slideshow)
The difference between “basic slideshow” and “scroll-stopping animated product video” is intentional motion. Use motion to direct attention, not to decorate.
1) Ken Burns movement (pan + zoom) with purpose
Use slow zoom-ins to emphasize materials or benefits; zoom-outs to reveal the product or context. Keep motion subtle: the viewer should feel it more than notice it.
2) Cut on meaning, not on time
Don’t change images every second just to maintain pace. Cut when the message changes (feature → proof → use-case). This improves comprehension.
3) Use “feature callout” graphics sparingly
Simple arrows, circles, and underline strokes can guide attention—especially for small details. Avoid clutter: one callout per frame is usually enough.
4) Match transitions to brand tone
- Minimal/modern brands: straight cuts, gentle cross-dissolves, light parallax.
- Bold/direct response: faster cuts, punchy text pops, quick zooms.
- Premium/luxury: slower pacing, clean typography, restrained motion.
Typography and on-screen text: make it readable on mobile
Text is often the primary driver of clarity in animated product videos. If viewers watch without sound (many do), text must carry the message.
- Use short lines: 3–7 words per screen is a good rule.
- Prioritize benefits over features: “No leaks in your bag” beats “Silicone seal.”
- Keep safe margins: avoid bottom overlays that may be covered by app UI.
- One font family max: use weight (regular/bold) for hierarchy.
Audio: the fastest way to make photos feel like video
Even a simple animated product video becomes more immersive with sound design. Consider:
- Music bed: choose a track aligned with your audience (calm, upbeat, premium).
- SFX accents: subtle “whoosh,” “click,” “pop,” or “tap” on transitions and callouts.
- Voiceover (optional): useful for complex products; keep it direct and benefit-led.
Tip: If you include voiceover, lower music volume significantly during speech and avoid busy tracks.
Platform specs table (use this to export correctly)
| Placement | Best Aspect Ratio | Typical Length | Notes |
|---|---|---|---|
| TikTok / Reels / Shorts | 9:16 | 6–20s | Hook fast; keep key text centered and above bottom UI |
| Stories | 9:16 | 5–15s | Use clear CTA; avoid tiny text |
| Feed (IG/FB) | 4:5 or 1:1 | 10–30s | 4:5 often maximizes screen space |
| Product page / landing page | 16:9 or 1:1 | 15–45s | Consider slower pacing; add more proof and details |
| Marketplaces (varies) | 1:1 or 16:9 | 15–60s | Check each marketplace’s rules for text and claims |
A practical editing workflow (repeatable for any product)
Step 1: Build a shot list from your promise
Create a 6–10 frame plan. Example:
- Frame 1: problem statement
- Frame 2: hero product reveal
- Frame 3: feature #1 close-up + callout
- Frame 4: feature #2 close-up + callout
- Frame 5: context/use-case
- Frame 6: outcome + CTA
Step 2: Edit in one “master” format, then adapt
For most brands, build in 9:16 first (it’s the most demanding), then reframe to 1:1 and 4:5. This reduces rework and protects composition.
Step 3: Animate with consistent timing rules
- Hooks: 0.5–1.5 seconds per hook frame
- Feature frames: 1.0–2.0 seconds each
- CTA: at least 1.5 seconds so it’s readable
Step 4: Add “proof” where it matters
Proof can be visual (macro detail, before/after) or informational (numbers, certifications, reviews). Keep claims truthful and supportable.
Optional: create a simple animated product video with FFmpeg
If you want a quick, programmatic way to turn product photos into a video (useful for batches), you can use FFmpeg. The example below applies a gentle zoom and outputs a vertical video. You’ll still want to add branding and text in an editor afterward.
# 1) Create a 9:16 video from a single image with a slow zoom
# Replace input.jpg and adjust duration (d) and fps as needed.
ffmpeg -loop 1 -i input.jpg \
  -vf "scale=1080:1920,zoompan=z='min(zoom+0.0008,1.10)':d=300:s=1080x1920" \
  -t 10 -r 30 -c:v libx264 -pix_fmt yuv420p output.mp4

# 2) Concatenate multiple clips (create clips per image first, then concat)
# Create a file named list.txt with:
# file 'clip1.mp4'
# file 'clip2.mp4'
# ...
ffmpeg -f concat -safe 0 -i list.txt -c copy final.mp4
Note: Different images may need different crop/zoom settings to keep the product centered. For best results, pre-crop your images consistently.
Common mistakes that hurt performance
- Leading with the logo instead of the problem/outcome.
- Too much text (viewers can’t read it at scroll speed).
- Random motion that doesn’t guide attention.
- Weak product clarity in the first 2 seconds.
- No CTA or a CTA that appears for less than a second.
How to optimize and test animated product videos
Once you have one solid version, create controlled variants instead of reinventing everything.
High-impact A/B tests
- Hook test: swap only the first 2 seconds (problem vs. benefit vs. social proof).
- Order test: feature-first vs. use-case-first.
- Text style test: minimal captions vs. bold callouts.
- Pace test: 10s vs. 15s with the same frames.
Metrics to watch (and what they imply)
- Thumb-stopping rate / 2-second view rate: your hook clarity and visual impact.
- Average watch time: pacing and message comprehension.
- Click-through rate: CTA strength and alignment with viewer intent.
- Conversion rate: promise-to-product match (and landing page alignment).
Final pre-publish checklist
- Is the product clearly visible within the first 2 seconds?
- Can someone understand the benefit with sound off?
- Do overlays avoid platform UI areas?
- Is motion smooth (no jitter) and intentional?
- Does the CTA appear long enough to read?
- Do exports match the target placements (aspect ratio, resolution, length)?
Wrap-up
A strong animated product video is less about flashy effects and more about clear storytelling + purposeful motion. With a repeatable structure, a focused promise, and a small set of high-quality photos, you can produce a steady stream of video assets for ads, product pages, and social channels—without restarting from scratch each time.
If you’re looking for a streamlined way to convert existing product photos into video variations, platforms like UGCMade can help reduce the manual steps while keeping the workflow consistent.
