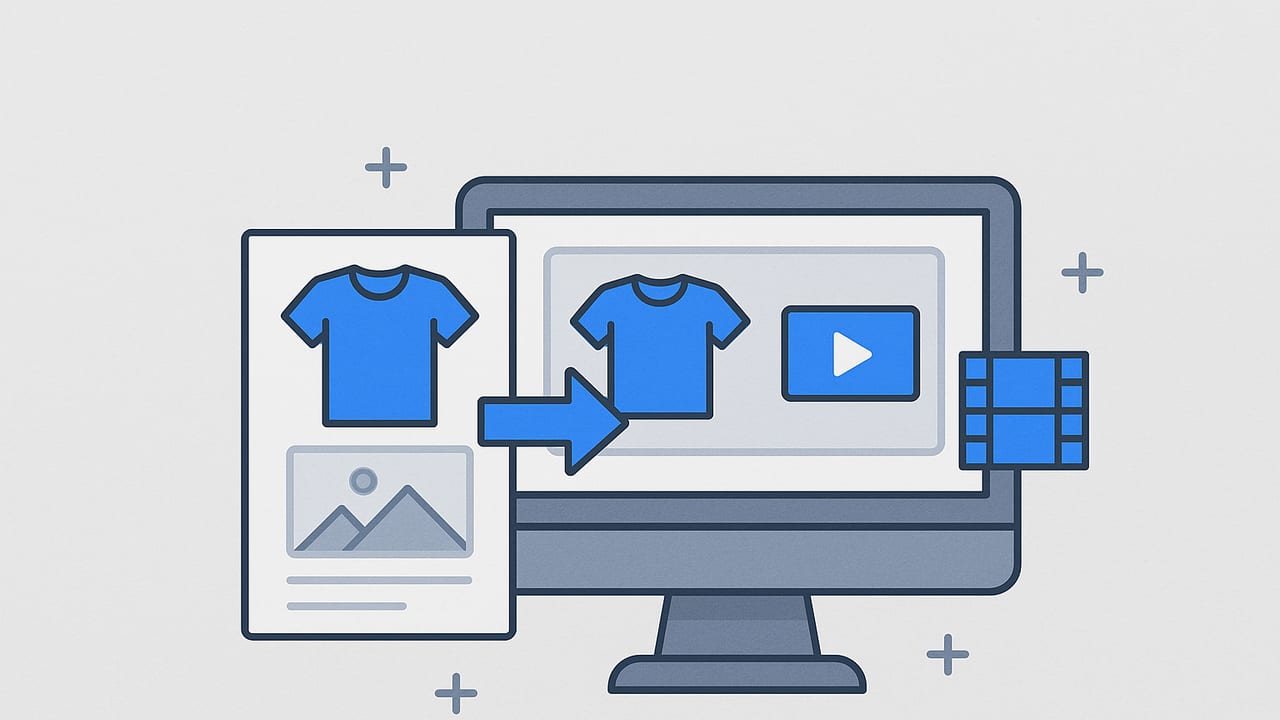
Turning your product catalog into a steady stream of promotional videos is one of the fastest ways to scale creative without new photoshoots. With the right workflow, you can transform still images into scroll-stopping, high-converting video assets for ads, social, marketplaces, and your storefront. This guide explains exactly how to convert catalog images to promotional videos, from strategy and specs to motion techniques, automation, and measurement.
Why Convert Stills Into Video?
Short-form video dominates discovery and purchase journeys. Yet most brands already have a goldmine of content sitting in their product catalog: clean, well-lit images from multiple angles, detail shots, and lifestyle composites. By animating those stills with smart motion, captions, and sound design, you get:
- Speed: Produce dozens of videos in hours, not weeks.
- Consistency: On-brand layouts, fonts, and pacing across your entire catalog.
- Conversion lift: Motion, text overlays, and social proofs boost engagement and click-through.
- Efficiency: Repurpose imagery you’ve already paid to create.
“You don’t need new footage—just new motion.”
Start with Strategy: Channel, Objective, Angle
Before you animate a single photo, define the purpose and destination of the video:
- Objective: Awareness, product details, promo offer, or conversion.
- Channel: TikTok/Reels/Shorts, Amazon listings, PDP gallery, email, or paid social.
- Creative angle: Benefit-driven demo, problem/solution, social proof, unboxing vibe, or feature carousel.
Map the objective to a structure. For performance ads, use Hook → Value → Proof → CTA. For PDP videos, use Overview → Features → How it works → Specs → CTA.
Asset Prep: Make Your Catalog Video-Ready
Great video starts with clean inputs. Optimize your catalog images for motion:
- Resolution: Export at least 2160 px on the shortest side; retain transparency (PNG) if you plan to animate layers.
- Consistency: Align horizon lines and product scale across shots to avoid jump cuts when animating.
- Background: Keep both original and background-removed variants; transparent cutouts enable parallax and text legibility.
- File naming: Use sortable names:
SKU_angle_variant_priority.jpg(e.g.,12345_front_white_01.jpg).
Recommended Specs by Destination
| Destination | Aspect Ratio | Resolution | Length | Notes |
|---|---|---|---|---|
| TikTok / Reels / Shorts | 9:16 | 1080×1920 | 6–20s | Large captions, strong opening hook |
| Facebook / Instagram Feed | 1:1 or 4:5 | 1080×1080 or 1080×1350 | 6–15s | Safe text area padding 6–8% |
| Amazon PDP / Listings | 16:9 | 1920×1080 | 15–45s | Focus on features/benefits; no claims that violate policies |
| Website PDP / Landing | 16:9 or 4:5 | 1920×1080 or 1080×1350 | 15–30s | Prioritize fast loading (H.264, 4–8 Mbps) |
Motion Techniques That Make Stills Feel Like Video
These low-effort techniques produce high perceived production value:
- Ken Burns pans/zooms: Slow, deliberate movement (1–3% zoom per second).
- 2.5D parallax: Separate product from background; move layers at different speeds to simulate depth.
- Cut-on-beat: Change image or text on music transients for rhythm.
- Mask reveals: Wipe text behind the product silhouette to feel native and premium.
- Micro shadows/highlights: Animate subtle light sweeps to suggest dimensionality.
- Text overlays: Short, high-contrast statements; 5–7 words max per panel.
Step-by-Step: How to Convert Catalog Images to Promotional Videos
- Pick the goal and script structure. Example: PAS (Problem–Agitate–Solution) for performance ads.
- Assemble your image sequence. 4–8 shots: front, 45-degree, detail, lifestyle, packaging, size reference.
- Choose aspect ratio. Start vertical (9:16) for social; repurpose to 1:1 and 16:9 later.
- Define motion. 2–3 seconds per image with gentle zoom or pan; cut on beat.
- Overlay copy. Hook (first 1.5s), benefit bullets, proof (rating, review snippet), CTA.
- Add branding lightly. Logo bug in a corner; end card with URL/CTA.
- Sound design. Royalty-free track with clear transients; subtle whooshes on transitions.
- Export and test. H.264, 30 fps, 4–10 Mbps depending on platform; generate captions for accessibility.
Copy Frameworks and On-Screen Text
Keep overlays concise, legible, and benefit-forward. Use these frameworks:
AIDA (Attention, Interest, Desire, Action)
- Hook: “Wrinkled tees? Meet your 10‑second fix.”
- Interest: “Heats evenly. No shine marks.”
- Desire: “Trusted by 3,000+ stylists.”
- Action: “Tap to get yours.”
PAS (Problem, Agitation, Solution)
- Problem: “Bulky chargers eat bag space.”
- Agitation: “Tangled cables, dead phones.”
- Solution: “Pocket-size 20W power, all day.”
Storyboard Template You Can Reuse
{
  "format": "9:16",
  "duration": 15,
  "scenes": [
    {"sec": 0, "img": "SKU_front.png", "motion": "zoom_in_slow", "copy": "Hook: The spill-proof mug that actually works"},
    {"sec": 3, "img": "SKU_lid_detail.png", "motion": "pan_right", "copy": "Leak-lock lid • One-hand open"},
    {"sec": 6, "img": "SKU_size_ref.png", "motion": "zoom_out", "copy": "Fits car holders • 12oz/18oz"},
    {"sec": 9, "img": "SKU_lifestyle.png", "motion": "parallax", "copy": "Keeps drinks hot for 6 hours"},
    {"sec": 12, "img": "SKU_packaging.png", "motion": "zoom_in_fast", "copy": "Tap to choose your color →"}
  ],
  "music": "upbeat_112bpm.mp3",
  "brand": {"logo": "brand_logo.png", "position": "top_left"}
}
FFmpeg Recipes: From Stills to Video Fast
If you prefer CLI automation, the following examples create a vertical slideshow with gentle zoom, captions, fades, and music. Place numbered images inside images/ as 001.jpg, 002.jpg, etc.
1) Simple Ken Burns Slideshow (9:16, 3s per image)
ffmpeg -framerate 1/3 -i images/%03d.jpg \
  -filter_complex "
  scale=1080:-2, \
  zoompan=z='min(zoom+0.002,1.1)':d=90:s=1080x1920, \
  format=yuv420p, \
  fade=t=in:st=0:d=0.5,fade=t=out:st=2.5:d=0.5
  " \
  -r 30 -c:v libx264 -pix_fmt yuv420p -crf 18 out.mp4
2) Add Text Overlays and Music
Create a text file captions.txt with time-coded captions:
0 Hook: Spill-proof mug that actually works
3 Leak-lock lid • One-hand open
6 Fits car holders • 12oz/18oz
9 Keeps drinks hot for 6 hours
12 Tap to choose your color →
Then run:
ffmpeg -framerate 1/3 -i images/%03d.jpg -i music.mp3 \
  -filter_complex "
  [0:v]scale=1080:-2,zoompan=z='min(zoom+0.002,1.1)':d=90:s=1080x1920,format=yuv420p[v];
  [v]drawtext=fontfile=/path/YourFont-Bold.ttf:textfile=captions.txt: \
     x=(w-text_w)/2:y=h*0.08:fontsize=64:fontcolor=white:box=1:boxcolor=0x000000AA: \
     enable='between(t,0,15)'[vt]
  " -map "[vt]" -map 1:a -shortest -c:v libx264 -c:a aac -b:a 160k -r 30 out_with_music.mp4
Notes:
- Adjust
zvalue for faster/slower zoom. - Use
box=1for a subtle text background for legibility. - Keep final duration under platform limits; trim with
-t 15if needed.
Editing Checklist (Save This)
- Opens with a clear, visual hook in the first 1–2 seconds.
- Every cut serves a benefit or proof point—no filler.
- Text contrasts with background; stays within safe margins.
- Music matches tempo; edits land on beats.
- Includes subtle logo and unmissable CTA.
- Subtitles or on-screen text covers key VO lines for sound-off viewers.
Compression, Formats, and Delivery
- Codec: H.264 (libx264) for broad compatibility; HEVC (H.265) optionally for smaller files.
- Bitrate: 4–6 Mbps (vertical/social), 8–12 Mbps (16:9 web/YouTube).
- Frame rate: 30 fps standard; match music tempo and platform defaults.
- Color space: sRGB images → Rec. 709 video; avoid crushed blacks—check gamma.
- Captions: Burn-in for social; upload SRT/VTT when platforms support it for searchability.
Measure What Matters
Your first batch is a hypothesis. Use data to refine:
- Hook hold (1s, 3s, 5s view-through): Indicates whether the opening frames are working.
- Average watch time: Aim for 30–60% of length on social.
- CTR / TAP rate: Test CTA wording, color, and timing.
- Conversion / ROAS: Tie creatives to UTM-tagged URLs.
- Creative fatigue: Watch frequency vs. performance decay; refresh hooks first.
Common Pitfalls and Quick Fixes
- Text hard to read: Add shadow, semi-opaque box, or blur the background layer slightly.
- Jittery motion: Keep zoom increments small (1–3% per second), use easing, and avoid sudden direction changes.
- Too static: Add a light sweep, moving background gradients, or parallax between foreground product and background plate.
- Off-brand: Lock a style guide (colors, font families, logo safe area, CTA button style) into your template.
- Aspect ratio headaches: Design in 9:16 first; keep critical visuals within a central 4:5 safe zone so square and landscape crops still work.
Scale with Templates and Automation
Once you have a winning layout, templatize it. Adopt variable-driven structures so a batch of SKUs can slot into the same motion and copy system.
Template Variables to Define
- Product layers:
foreground,background,details[] - Copy blocks:
hook,benefits[],social_proof,cta - Motion presets:
zoom_in_slow,pan_right,parallax_medium - Branding:
logo_path,colors,font_family
Prompt Ideas (for AI-Assisted Motion/Text)
- “Create a 15s 9:16 product video from these 6 images. Use slow Ken Burns, beat-synced cuts every 2–3s, bold captions at top, logo top-left, CTA at 12s.”
- “Add 2.5D parallax to the cutout product layer, keep background blur at 12px, and animate light sweep across stainless-steel areas at 8s.”
- “Rewrite overlay copy to 7th-grade reading level, under 7 words per panel, benefit-first.”
Putting It All Together
To convert catalog images to promotional videos at scale, align your creative structure with your channel goal, prepare consistent assets, add subtle but deliberate motion, keep text short and legible, and ship multiple variations. Measure what actually moves the needle—hook retention and CTR—then iterate. Once you find a winning pattern, lock it as a template and automate as much as possible so your catalog turns into a continuous feed of fresh, on-brand video.
Looking for a faster path from stills to on-brand motion? Tools that specialize in transforming product photos into engaging AI-generated videos—such as UGCMade—can streamline the process while preserving quality and creative control.
