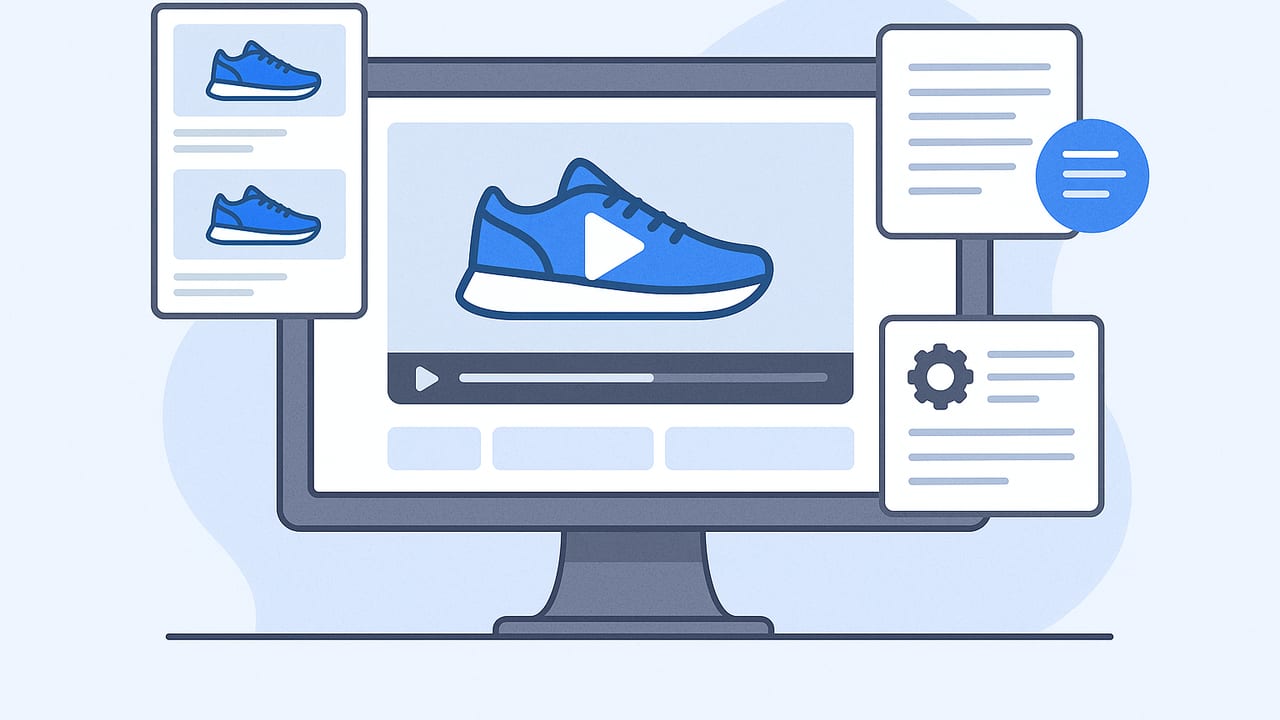
A product demo video from photos is a fast, cost-effective way to showcase features, benefits, and real-life context without filming. With the right storyboard, motion design, and captions, still images can simulate hands-on demonstrations, driving higher engagement and conversions across ads, social, and product detail pages. This guide breaks down the full workflow: planning, scripting, motion techniques, export specs, QA, and optimization.
Why a Photo-Based Demo Works
Photo-first demos succeed because they reduce production friction while delivering the clarity buyers need. High-quality product photos already exist in most teams; turning them into motion content compresses timelines and budget. Meanwhile, short vertical videos dominate feeds and ad placements, rewarding clear value propositions and quick visual proof.
- Speed to market: Launch seasonal, limited-run, or iterative variants without scheduling shoots.
- Consistency: Repurpose catalog, lifestyle, and UGC images into multiple cuts and aspect ratios.
- Focus on benefits: On-screen text and tight framing keep attention on outcomes, not theatrics.
- Algorithm-friendly: Rapid hooks, vertical formats, and captions improve watch time and completion rates.
Executed well, a product demo video from photos communicates the "what," "why," and "how" in under 20 seconds—a sweet spot for ads and social placements.
Pre‑Production: Goals, Audience, and Angle
Clarity upfront prevents rework later. Define:
- Goal: Awareness, click-through, add-to-cart, or conversion on PDP.
- Audience: First-time scrollers vs. high-intent retargeting visitors.
- Primary outcome: What should viewers do in the last 3 seconds?
- Key differentiator: The one claim or feature competitors cannot match.
From those inputs, pick an angle:
- Problem–Solution: Open with pain, resolve with your feature.
- How‑To Micro Demo: Step-by-step visuals in 10–20 seconds.
- Before–After: Contrast to make value instantly visible.
- Use‑Case Carousel: 3–4 contexts to widen relevance.
- Social Proof: Review snippets + star overlays + benefit highlights.
Asset Checklist
- Hero shots on neutral backgrounds (front, angled, close-ups).
- Detail photos (ports, materials, textures, accessories).
- Lifestyle images showing product in context or in hand.
- Logo (transparent PNG) and brand palette references.
- Badges (warranty, ratings, certifications, awards).
- Text claims with proof (data, certifications, legal-approved copy).
- Music track or VO script (and usage rights).
Storyboard Frameworks You Can Copy
- 3-Beat Demo (15s):
Beat 1 (0–3s): Hook the pain or promise.
Beat 2 (3–10s): Show 2–3 features solving it.
Beat 3 (10–15s): Social proof + CTA. - Before–After–How (20s):
Before (0–4s), After (4–8s), How it works (8–16s), CTA (16–20s). - Feature Stack (18s):
Each 4–5s panel highlights a feature with a micro-benefit. - Use-Case Reel (15s):
Different scenarios in quick sequence to expand relevance. - UGC-Style Rundown (15s):
"I tried X so you don’t have to" tone with bold text overlays.
Script Templates (Text + Voiceover)
Keep on-screen text punchy: 5–9 words per card is ideal. If using voiceover, mirror structure but avoid reading text verbatim.
- Hook Options: "Tired of [pain]?", "Meet [product]: [1-sentence promise]", "3 reasons [product] beats [status quo]"
- Feature Lines: "[Feature] = [benefit]", "From [issue] to [solution] in seconds", "Designed for [use case]"
- Proof: "4.8★ from 2,100+ buyers", "Lab-tested to [metric]", "Trusted by [segment]"
- CTA: "Shop now", "See details", "Choose your size/color"
Example 15-second script:
On-screen: Struggle with tangled cables?
On-screen: Meet VoltDock — charge 3 devices at once.
On-screen: Magnetic snap keeps everything tidy.
On-screen: Fast-charge certified. 4.8★ rating.
On-screen: Shop now.
Production: Turning Photos Into Motion
Motion Design That Feels Like a Real Demo
- Ken Burns (pan/zoom): Slow push-ins on details; pull-outs to reveal scale.
- Parallax layers: Separate foreground product from background to add depth.
- Wipes and masks: Use shape wipes to reveal before/after or color variants.
- Speed ramps: Accelerate transitions between beats; pause on key claims.
- Pointer overlays: Circles, arrows, or sparkle accents to direct attention.
- Shadow realism: Add drop shadows and light sweeps to prevent the "flat" look.
Aim for one visual action every 1–1.5 seconds in the first 3 seconds. Use easing (ease-in-out) for natural motion. Avoid over-animating text; clarity beats novelty.
Text, Captions, and Accessibility
- Keep text safe from platform UI (top/bottom margins).
- Minimum on-screen text size equivalent to 40–48 px for mobile readability.
- High contrast: light text on dark plate or vice versa.
- Add captions for VO; many viewers watch muted.
- Write alt text when posting to channels that support it: describe the key benefit and product state.
Audio: VO and Music
- Voiceover: Conversational, 140–160 words per minute for 15–20 seconds.
- Music: Choose tracks with a clear intro for the hook; avoid vocals that clash with VO.
- Rights: Use licensed or royalty-free music with commercial rights; store license proof centrally.
Specs, Ratios, and Safe Exports
Recommended Formats
- Codecs: H.264 (baseline/main) for compatibility; HEVC/H.265 for quality at lower bitrates.
- Container: MP4 or MOV.
- Frame rate: 24, 25, or 30 fps; match the platform norm or project base.
- Bitrate targets: 6–12 Mbps for 1080p; 12–20 Mbps for 4K (if required).
Aspect Ratios by Placement
| Platform | Preferred Ratio | Resolution | Max Length (demo sweet spot) |
|---|---|---|---|
| TikTok | 9:16 | 1080 x 1920 | 9–20 s |
| Instagram Reels | 9:16 | 1080 x 1920 | 9–20 s |
| YouTube Shorts | 9:16 | 1080 x 1920 | 12–25 s |
| Facebook Feed | 1:1 or 4:5 | 1080 x 1080 / 1080 x 1350 | 10–20 s |
| PDP (Shopify/Amazon) | 16:9 or 1:1 | 1920 x 1080 / 1080 x 1080 | 15–30 s |
File Hygiene
- File naming: product-demo_[angle]_v1.mp4 (include date or hash if needed).
- Burn-in captions only when platform lacks subtitle support; otherwise upload .srt.
- Use lossless or high-quality PNGs for source images to avoid compounding compression.
Optimization: Hook, Proof, and CTA
Small changes produce big lifts. Test:
- Hooks: Question vs. bold claim vs. problem visual.
- Order: Lead with the strongest benefit, not the feature list.
- CTA: "Shop now" vs. "See details" vs. "Pick your size" depending on funnel stage.
- Proof style: Star rating chip vs. review quote vs. certification badge.
Aim for a visible CTA in the final 2–3 seconds and a product logo watermark throughout (subtle, low opacity). Thumbnails still matter: export a clean frame with the product centered and the headline legible.
QA Checklist Before Publishing
- First second: clear hook and legible text.
- All text within safe margins; no UI overlap on major platforms.
- No legal-risk claims; disclaimers present where needed.
- Audio balanced: VO is 3–6 dB louder than music.
- Export matches required aspect ratio and bitrate.
- No typos; brand colors and logo correct.
Simple Automation Example (Shotlist JSON)
If you automate motion from stills, structure your shotlist so each beat defines the image, motion, text, and duration. This helps keep edits consistent across variants and languages.
{
  "shots": [
    { "img": "hero_front.png", "motion": "zoom_in_slow", "text": "Tired of cable clutter?", "sec": 2.0 },
    { "img": "dock_top.png", "motion": "pan_up", "text": "Charge 3 devices at once", "sec": 2.5 },
    { "img": "mag_snap.png", "motion": "zoom_in_fast", "text": "Magnetic snap = tidy desk", "sec": 2.5 },
    { "img": "badge_rating.png", "motion": "static", "text": "4.8★ from 2,100+ buyers", "sec": 2.0 },
    { "img": "lifestyle_office.png", "motion": "pull_back", "text": "Shop now", "sec": 2.0 }
  ],
  "music": "clean_beats.mp3",
  "vo": "volt_dock_vo.wav",
  "out": { "fps": 30, "ratio": "9:16", "codec": "h264" }
}
Feed a structure like this into your editor, automation script, or template-based tool to generate multiple cuts quickly (e.g., change hook line or reorder shots for A/B tests).
Common Pitfalls and How to Fix Them
- Looks like a slideshow: Add parallax depth, masks, and purposeful camera moves. Use light sweeps and shadows for dimensionality.
- Text overload: Limit line length and break claims into separate beats.
- Slow pacing: Start with your boldest visual. Trim dead air between shots.
- No proof: Include ratings, certifications, test results, or a user quote.
- Bland CTA: Tie action to value: "Shop now—save desk space" vs. generic "Learn more".
- Wrong ratio: Design for 9:16 first; adapt to 1:1 and 16:9 for PDPs and feeds.
Putting It All Together: A Repeatable Workflow
- Plan: Goal, audience, differentiator, angle.
- Collect assets: Hero, detail, lifestyle, brand elements, proof.
- Storyboard: Choose a 3–5 beat framework; draft text and VO.
- Animate: Apply motion per beat; respect safe areas; add captions.
- Sound: Balance VO and music; ensure rights.
- Export: Target platform specs; produce variants for testing.
- QA: Run checklist; fix pacing, text, and color issues.
- Optimize: Test hooks, proof styles, and CTAs; iterate weekly.
With practice, you can build a library of reusable templates so a new product demo video from photos takes hours, not days.
Final Note
If you prefer an AI-assisted route to transform product photos into engaging demos at scale, platforms like UGCMade offer tools that streamline motion, captions, and export without the complexity of traditional editing suites.
