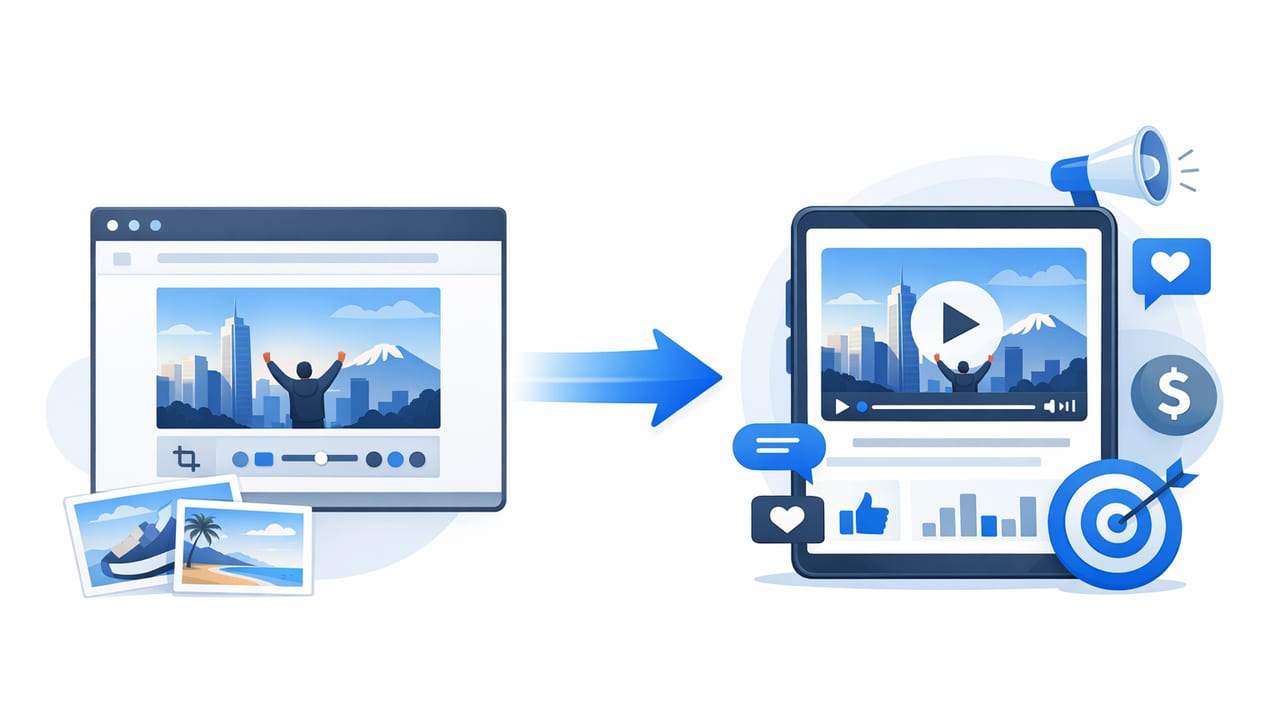
If you already have strong product photography, you’re sitting on a library of video assets—you just need a repeatable way to convert images to marketing videos that feel native on each channel. The goal isn’t to “animate a slideshow.” It’s to create visual storytelling that communicates value fast, holds attention, and drives the next click, add-to-cart, or lead.
This guide walks through a practical, production-minded workflow: what to plan, how to sequence photos, where motion matters (and where it doesn’t), and how to optimize exports for modern video marketing.
Why image-based videos can outperform “real” video
Counterintuitive but common: well-edited photo-to-video creatives can beat filmed footage when the message is clearer and faster. They work especially well when:
- Your product is highly visual (fashion, beauty, home goods, food, tech accessories).
- You need volume for creative testing (many hooks/angles without reshoots).
- You’re iterating offers (bundles, seasonal promos, new benefits).
- You have great stills but limited time/budget for production.
Rule of thumb: If the first 2 seconds communicate “what it is + why it matters,” the format matters less than the clarity.
Step 1: Choose one objective per video
Before you open any editor, decide what success looks like. Most underperforming creatives try to do everything at once. Pick one:
- Awareness: introduce product/category, highlight aesthetic and positioning.
- Consideration: explain benefits, features, comparisons, objections.
- Conversion: offer, urgency, proof, guarantee, CTA.
Then write a single-sentence promise (this becomes your hook and on-screen headline):
“A mess-free way to get café-level cold brew at home in 60 seconds.”
Step 2: Build a “photo storyboard” (no video required)
To convert images to marketing videos effectively, sequence stills like shots in a commercial. You need three types of images:
- Hook image: the most visually striking result shot (or problem shot).
- Proof images: close-ups, details, ingredients/materials, UI screens, before/after.
- Decision images: social proof, guarantee, pricing/offer, bundles, shipping highlights.
A simple 9-frame storyboard template
- 0–1s: Pattern interrupt (hero shot + bold headline)
- 1–3s: The problem (mess, time, discomfort, cost)
- 3–5s: The product appears (name + one key benefit)
- 5–7s: How it works (3-step graphic or feature close-ups)
- 7–9s: Primary benefit (result visual)
- 9–11s: Secondary benefit (durability, ingredients, compatibility)
- 11–13s: Proof (rating, review snippet, press badge)
- 13–15s: Offer/urgency (limited-time, bundle, free shipping)
- 15–18s: CTA (shop now, learn more, compare)
Step 3: Add motion with intent (not decoration)
Motion should guide the eye, reveal information, or create momentum. Use these “high-ROI” motion techniques:
- Ken Burns (pan/zoom): slowly zoom into texture, details, or the result.
- Swipe reveals: show before/after or “problem vs solution.”
- Pop-in callouts: label features with simple pointers.
- Rhythmic cuts: change images on the beat every 0.5–1.2s early, then slow down.
- Parallax layers: separate subject/background for depth (use sparingly).
Timing guidelines that tend to work
- First 3 seconds: fastest pacing (2–4 cuts)
- Mid section: moderate pacing (1–2s per shot)
- CTA section: slightly slower (let the offer/CTA land)
Step 4: Write on-screen text for “sound-off” viewing
Most social placements are consumed with the sound off. Treat captions as the primary script and audio as reinforcement.
A proven on-screen text formula
- Headline: outcome or curiosity (“Stop dealing with tangled cords.”)
- Subhead: how/why (“Magnetic wrap keeps everything tidy in 2 seconds.”)
- Proof: numbers, review snippet, guarantee (“4.8★ from 3,200+ customers”)
- CTA: clear action (“Tap to see colors” / “Shop the bundle”)
Tip: Keep key lines to 6–10 words. If it doesn’t fit, split across two quick cards.
Step 5: Match platform specs (so your creative doesn’t get punished)
Your edit can be excellent and still underperform if text is cut off, the framing is wrong, or the length is mismatched. Use the table below as a practical baseline.
| Placement | Aspect Ratio | Typical Length | Notes |
|---|---|---|---|
| Short-form feeds (Reels/Shorts/TikTok) | 9:16 | 6–20s | Front-load hook; keep text away from UI edges |
| Stories | 9:16 | 5–15s | Use big type; CTA near bottom but above UI |
| Feed (square-friendly) | 1:1 or 4:5 | 10–30s | Great for product benefits + proof |
| Product page / PDP | 1:1 or 16:9 | 15–45s | Prioritize clarity: what’s included, how it works |
Step 6: Use a repeatable editing checklist
When you convert images to marketing videos at scale, consistency beats perfection. Here’s a checklist you can reuse for every creative.
Pre-edit checklist
- Pick one objective and one promise.
- Select 8–12 photos: hero, details, lifestyle, proof.
- Draft 5–8 caption lines (headline → benefits → proof → CTA).
Edit checklist
- Hook appears in first second (product or outcome visible).
- Text is readable on mobile (high contrast, large size).
- Every 2–3 seconds: add new information (benefit/proof/feature).
- Consistent brand styling (fonts, colors, spacing).
- CTA is explicit and visually separated.
Export checklist
- Export in the placement’s native aspect ratio (avoid letterboxing).
- Check safe zones: no critical text near edges.
- Verify color/brightness on phone (not just desktop).
Practical example: turn 6 product photos into 3 different video angles
Assume you have six images: (1) hero product, (2) in-use lifestyle, (3) close-up detail, (4) before/after, (5) packaging/what’s included, (6) review screenshot.
- Angle A (Problem/Solution): before/after → hero → how it works (detail) → review → CTA
- Angle B (Feature-led): hero → 3 feature callouts (detail/lifestyle) → what’s included → CTA
- Angle C (Proof-led): rating/review → hero → benefit list → lifestyle → offer/CTA
Same photos, three different narratives. This is how you get volume without new shoots.
Optional: create a simple photo-to-video draft with FFmpeg
If you want a quick, repeatable base video from a sequence of images (then add text and styling in your editor), you can generate a draft using FFmpeg.
# 1) Rename images in order: frame01.jpg, frame02.jpg, ...
# 2) Create a 1080x1920 (9:16) video at 30fps

ffmpeg -framerate 1 -i frame%02d.jpg \
  -vf "scale=1080:1920:force_original_aspect_ratio=increase,crop=1080:1920" \
  -r 30 -c:v libx264 -pix_fmt yuv420p \
  slideshow.mp4
How it works: -framerate 1 shows each image for ~1 second. Adjust to 2 for half-second cuts, or edit timing later.
Common mistakes (and quick fixes)
- Mistake: Starting with a logo.
Fix: Start with the outcome or problem; brand can appear later. - Mistake: Too much text per card.
Fix: Split copy across multiple fast cards; keep one idea per frame. - Mistake: Random motion presets everywhere.
Fix: Use 1–2 motion styles consistently (e.g., slow zoom + swipe reveal). - Mistake: No proof.
Fix: Add a review line, rating, UGC quote, or “what’s included” clarity. - Mistake: Same creative everywhere.
Fix: Export per placement and rewrite hooks for each audience segment.
How to measure whether your image-to-video creative is working
Don’t judge performance only on one metric. A clean diagnostic approach:
- Hook strength: 3-second view rate / thumb-stop rate (platform dependent)
- Message clarity: hold rate through your benefit section
- Intent: CTR to product page (or landing page)
- Conversion fit: add-to-cart rate and CPA/ROAS
If CTR is high but conversions are low, your video may be overselling or under-explaining (missing pricing, compatibility, what’s included, shipping, etc.). If CTR is low, fix the hook and first frame before changing everything else.
Conclusion: a scalable way to turn photos into video marketing
To reliably convert images to marketing videos, focus on narrative sequence, intentional motion, mobile-first text, and platform-native exports. With a tight storyboard and a consistent checklist, you can produce dozens of credible creatives from a single product photography set—then iterate based on real performance data.
If you prefer a faster route from product photos to polished video variations, tools like UGCMade (among others in this category) can help streamline the production workflow—just keep the strategy above in the driver’s seat.
