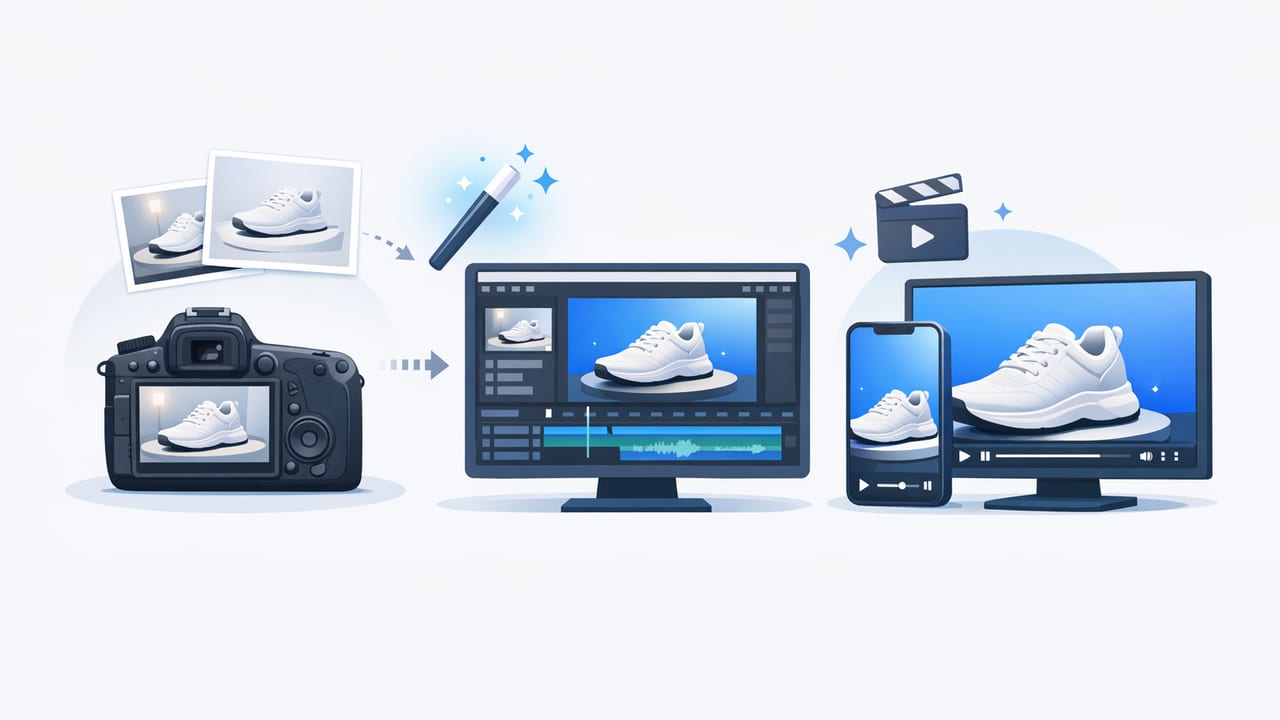
If you already have strong product photography, you’re sitting on an underrated asset: a library of frames that can be turned into high-performing video. Learning how to create product videos from photos lets you move faster, refresh creatives more often, and tell clearer product stories—without scheduling another shoot.
This guide walks through a complete, repeatable workflow: choosing the right photo set, building a simple script, turning stills into motion, adding text and audio, and exporting formats that match where the video will live (ads, product pages, email, marketplaces, and social).
Why photo-to-video works (and when it doesn’t)
Photo-to-video isn’t a “slideshow.” Done well, it’s a structured narrative where each frame answers a buyer question: What is it? What does it do? Will it fit my life? Why this brand?
- Works best when: you have clean, consistent product photography (angles, lighting, background) and clear product benefits that can be shown via close-ups, overlays, and sequencing.
- Harder when: the product’s value is primarily experiential (sound quality, scent, taste). You can still do it, but you’ll lean more on on-screen text, testimonials, and context shots.
Rule of thumb: If your best photos already “sell” in a carousel, they can usually sell in a 10–20 second video with motion, pacing, and captions.
Step 1: Select a photo set that tells a complete story
Start by gathering 8–20 images, then filter down to the ones that communicate the buying essentials. For most products, you want coverage across four categories:
- Hook image: the most visually striking angle or lifestyle shot.
- Feature proof: close-ups that show materials, texture, finish, or UI details.
- Use context: scale references, “in-hand,” on-body, or in-room shots.
- Trust builders: packaging, warranty badge, lab results, award logos, or review snippets (if allowed).
Quality checklist for photo inputs
- Resolution high enough to crop for vertical (ideally 2000px+ on the short side)
- Consistent color temperature and exposure (minor differences become obvious in motion)
- Space for text overlays (negative space helps readability)
- No tiny product in the frame (video needs clarity on small screens)
Step 2: Define one video goal and one audience
A common reason photo-based videos underperform is that they try to do everything at once. Decide the primary outcome and build around it:
- Awareness: “Here’s what it is” + a single standout benefit
- Consideration: “Here’s why it’s better” + proof points
- Conversion: “Here’s exactly what you get” + risk reducers + CTA
Also pick the audience scenario (new customer, gift buyer, power user, deal seeker). The same photos can produce multiple variants—your script and captions do the segmentation work.
Step 3: Write a micro-script (even if there’s no voiceover)
Even silent videos need a script—because captions and sequencing are your “narration.” Use a simple 6-beat structure that fits 12–20 seconds:
- Beat 1 (0–2s): Hook + outcome
- Beat 2 (2–6s): Problem or desire
- Beat 3 (6–10s): Product introduction
- Beat 4 (10–14s): 2–3 benefits
- Beat 5 (14–18s): Proof / trust
- Beat 6 (18–20s): CTA (soft or direct)
Example caption script (text-only)
Hook: “Meet the 2-minute morning upgrade.”
Problem: “Tired of cluttered counters?”
Intro: “This organizer fits tight spaces.”
Benefits: “Non-slip base • Wipe-clean finish • Modular trays”
Proof: “4.8★ average rating”
CTA: “See sizes & colors”
Keep each line under ~35 characters for mobile readability, and avoid stacking more than 2 lines at a time.
Step 4: Storyboard your photo sequence (pacing matters more than effects)
Before you add motion, lock the order. A simple storyboard prevents “random photo montage” syndrome.
| Moment | Photo type | On-screen text | Motion idea |
|---|---|---|---|
| Hook | Lifestyle hero | Main outcome | Slow push-in (2%) |
| Problem | Mess/contrast shot | Pain point | Quick cut + subtle shake |
| Feature 1 | Close-up | Benefit + icon | Pan across detail |
| Feature 2 | Angle change | Second benefit | Match cut on shape |
| Proof | Review/badge/packaging | Trust line | Text pop-in |
| CTA | Clean product shot | Next step | Hold steady |
Timing tip: use faster cuts early (0.6–1.0s) and slightly longer holds during proof and CTA (1.2–1.8s). That pacing pattern tends to feel intentional.
Step 5: Add motion to still images (the “Ken Burns” approach, upgraded)
Motion is what turns photos into video—so keep it consistent and motivated:
- Push-in for importance: highlight texture, mechanisms, labels.
- Pan to reveal: move across a feature rather than zooming randomly.
- Match cuts: cut between two photos at similar framing so the transition feels smooth.
- Depth tricks: blur a background layer slightly; keep the product sharp.
Avoid overusing transitions. A clean cut with good pacing usually beats fancy wipes.
Safe motion settings (that don’t look jittery)
- Scale/zoom: 2–6% over the clip duration
- Pan distance: 3–8% of frame width/height
- Ease in/out: enable easing so motion doesn’t start/stop abruptly
Step 6: Design captions for scanning (not reading)
Most people watch without sound, and most people watch fast. Your captions should communicate the pitch at a glance.
- One idea per frame: don’t stack three benefits at once.
- High contrast: use a subtle shadow or semi-transparent box behind text.
- Consistent placement: keep text in the same zone across the video.
- Use numbers: “3 sizes,” “2-minute setup,” “30-day trial”
If you’re creating multiple variants, keep the photo order the same and only change the first two caption cards. That isolates the hook as the variable when you test performance.
Step 7: Choose the right format for each channel
One of the biggest wins when you create product videos from photos is exporting a few sizes for different placements—without re-editing everything from scratch.
| Placement | Aspect ratio | Length | Notes |
|---|---|---|---|
| TikTok / Reels / Shorts | 9:16 | 8–20s | Big text, fast hook, safe margins |
| Stories | 9:16 | 6–15s | CTA higher to avoid UI overlap |
| Feed (IG/FB) | 4:5 or 1:1 | 10–20s | More breathing room for copy |
| Product detail page (PDP) | 1:1 or 16:9 | 15–45s | Clarity > trend; show inclusions and scale |
Step 8: Add audio strategically (optional, but powerful)
Audio can lift perceived quality even when viewers don’t listen closely.
- Music bed: keep it low; avoid distracting drops.
- SFX: subtle “whooshes” on text can add energy, but use sparingly.
- Voiceover: great for PDP and longer consideration videos; not required for short social.
If you do voiceover, write it like spoken language: short sentences, concrete words, and fewer adjectives.
Step 9: Export cleanly (and keep a reusable template)
Consistency compounds. Create a simple template: brand font, text styles, safe margins, color palette, and a standard outro card. That makes weekly creative refreshes realistic.
Optional: quick command-line stitching with FFmpeg
If you want a lightweight way to preview pacing before editing, you can generate a basic video from images using FFmpeg. (You’ll still want to add captions and polish in an editor.)
# images named frame01.jpg, frame02.jpg... frame10.jpg
# creates a 1080x1920 vertical video at 30fps with 1.2s per image
ffmpeg -framerate 0.8333 -i frame%02d.jpg -vf "scale=1080:1920:force_original_aspect_ratio=cover,crop=1080:1920" -r 30 -pix_fmt yuv420p output.mp4
Step 10: Test and iterate like a marketer, not a filmmaker
Your first version is a hypothesis. Make iteration cheap by testing specific variables:
- Hook: swap only the first caption card (or first image) and keep the rest identical.
- Benefit order: lead with the most surprising claim vs. the most practical claim.
- Proof type: star rating vs. testimonial quote vs. guarantee badge.
- CTA: “Shop now” vs. “See how it works” vs. “Compare sizes.”
Track performance based on the channel: for short-form, watch 3-second hold and average watch time. For PDP video, watch add-to-cart rate and conversion rate by session.
A final checklist: publish-ready photo-to-video
- Video communicates one primary outcome
- First 2 seconds include a hook + clear product visibility
- Captions are readable on mobile (contrast, size, safe margins)
- Motion is subtle and consistent (no random zooms)
- Benefits are supported by close-ups or context images
- Proof and risk reducers are included (where appropriate)
- Exports match placement specs (9:16, 4:5, 1:1 as needed)
- At least 2 hook variants are prepared for testing
Bring it all together
When you treat still images as building blocks—sequenced with intent, animated with restraint, and supported by scan-friendly captions—you can create product videos from photos that feel native to modern feeds and useful on product pages. The biggest lever isn’t flashy editing; it’s clarity: the right photos, in the right order, with the right message.
If you want to streamline this workflow, a platform like UGCMade can help turn existing product photos into engaging video variations more efficiently.
