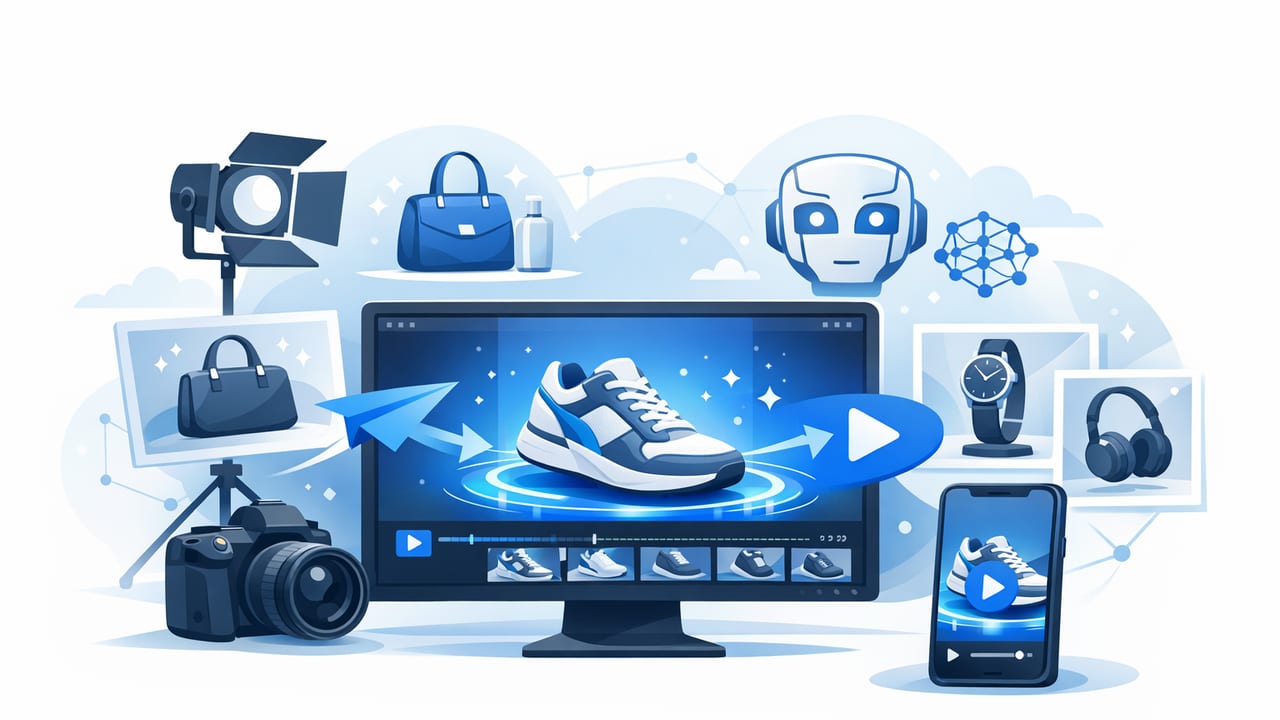
Great product photos can explain “what it is.” Great video can explain “why it matters” in seconds. If you don’t have time, budget, or a studio setup, you can still showcase product images with AI video by turning your existing photos into short, scroll-stopping clips tailored for ads, product pages, and social content.
This guide breaks down a practical workflow—from choosing the right images and writing a simple script to generating multiple video variations, adding on-screen text, and testing what performs best.
Why convert product photos into AI video?
AI photo-to-video workflows are effective because they help you deliver movement, sequencing, and clarity without reshoots. Instead of relying on a single hero image, you can guide viewers through benefits and details in a controlled story.
- Higher information density: show features, variants, and “how it works” in 10–20 seconds.
- More placements: adapt one set of photos into vertical, square, and landscape formats.
- Speed: generate multiple angles (hooks, text overlays, pacing) fast.
- Consistency: keep the same lighting and brand look as your product photography.
Step 1: Pick the right images (the “AI-ready” checklist)
Not every photo is equally useful for conversion-oriented video. Start by selecting 6–12 images that cover your customer’s decision-making journey.
Recommended image types
- Hero shot: product centered, clean background.
- Close-ups: materials, textures, ports, seams, labels.
- In-use or contextual shots: scale and real-life application.
- Problem/solution frames: before/after or a pain point visual.
- Variants: colors, sizes, bundles.
- Proof elements: awards, certifications, star rating badge (if accurate).
Quality rules that prevent weird outputs
- Resolution: aim for at least 1500px on the shortest side.
- Background: avoid clutter; consistent lighting reduces “flicker.”
- Angles: mix wide, medium, macro; avoid 10 near-identical shots.
- Text in images: keep minimal; AI motion can warp small text.
Tip: If your product has fine typography (e.g., labels), show it as a static frame with gentle camera motion rather than heavy animation.
Step 2: Define one goal per video (don’t try to say everything)
A common mistake is cramming your entire product page into a 15-second clip. Instead, choose one goal and build a tight sequence around it.
| Video goal | Best length | Best use | What to emphasize |
|---|---|---|---|
| Stop the scroll (hook) | 6–10s | Reels/TikTok/Stories ads | Pain point + bold benefit |
| Explain the product | 12–20s | Prospecting ads, PDP video | 3 key features + how it works |
| Build trust | 10–20s | Retargeting, PDP | Social proof, guarantees, specs |
| Compare options | 15–25s | Catalog, bundles, upsells | Variant differences and use cases |
Step 3: Write a simple “photo-to-video script”
You don’t need a cinematic screenplay. For photo-based video, a script is just: Hook → Benefits → Proof → CTA. Use short sentences designed for on-screen text.
Template (15 seconds)
- 0–2s (Hook): “Tired of [pain]?”
- 2–8s (Benefits): “Meet [product]. [benefit 1]. [benefit 2]. [benefit 3].”
- 8–12s (Proof): “Loved by [audience].” / “[rating] stars.” / “[certification].”
- 12–15s (CTA): “Choose your color. Tap to shop.”
Rule of thumb: keep on-screen text to one idea per scene (3–7 words). Let the visuals do the rest.
Step 4: Storyboard the sequence (so AI motion looks intentional)
Before you generate anything, decide what each image should do. Even “simple” motion (subtle zoom, pan, parallax) feels premium when it matches the message.
Example storyboard (8 scenes)
- Hero shot + fast hook text
- Close-up + “feature #1”
- In-use image + “benefit #1”
- Close-up detail + “feature #2”
- Variant lineup + “choose your style”
- Proof badge/review quote
- Shipping/guarantee card (simple graphic)
- Hero shot reprise + CTA
Step 5: Choose motion styles that sell (not distract)
When your input is product photography, the goal is clarity. Avoid chaotic camera moves that make the product harder to understand.
High-performing motion patterns for product images
- Slow push-in: adds focus and premium feel.
- Side pan: reveals features across the frame.
- Parallax depth: subtle separation of product and background.
- Cut-on-action sequencing: quick cuts between details for energy.
Keep it consistent: if you use slow push-ins, use them throughout—mixed styles can look accidental.
Step 6: Use prompts and constraints (so your product doesn’t “morph”)
Many AI video generators try to “invent” details during motion. For e-commerce, that’s risky. You want the AI to animate camera movement and lighting continuity, not redesign your item.
Prompt principles
- Describe motion, not new objects: “slow zoom in,” “gentle pan,” “subtle parallax.”
- Lock product identity: “keep the product shape, logo, and colors unchanged.”
- Specify realism: “photorealistic,” “studio lighting,” “no distortions.”
- Avoid forbidden transformations: “no melting, no warping text, no extra parts.”
Reusable prompt snippet
Photorealistic product video from a still image.
Camera: slow push-in, stable framing, smooth motion.
Lighting: consistent softbox studio lighting.
Constraints: keep product shape, logo, label text, and colors unchanged.
No distortions, no extra elements, no morphing.
Step 7: Add on-screen text like a performance marketer
On-screen text is often the main “narrator” when you’re using product images. The best overlays are scannable, specific, and aligned with what’s visible.
Text overlay best practices
- Match claim to frame: show the feature as you mention it.
- Use numbers: “2-day battery,” “3 layers,” “30 washes.”
- Prioritize readability: high contrast, safe margins, large font.
- Use a 2-line max: avoid paragraph overlays.
Example overlay set (feature-led)
- “Designed for all-day comfort”
- “Premium [material] finish”
- “Fits [use case] in seconds”
- “Choose your color”
Step 8: Export specs for each channel (so it looks native)
If you want your AI video to perform, it must match platform expectations. Use the same creative idea, but tailor the layout and pacing.
| Placement | Aspect ratio | Length | Notes |
|---|---|---|---|
| Reels/TikTok | 9:16 | 8–20s | Fast hook in first 1–2s; big text; safe margins |
| Feed (Meta) | 4:5 or 1:1 | 10–20s | Product centered; avoid tiny text near edges |
| YouTube Shorts | 9:16 | 12–25s | Strong mid-video payoff; captions recommended |
| Product page (PDP) | 1:1 or 16:9 | 15–30s | More detail; include variants and proof |
Step 9: Generate variations (this is where AI shines)
Instead of debating one “perfect” edit, create small variations and let performance data pick winners.
High-impact variations to test
- Hook swap: pain-point hook vs. curiosity hook vs. bold claim.
- Sequence swap: start with in-use image vs. hero shot.
- Text density: minimal overlays vs. feature-by-feature overlays.
- Speed: 0.8s cuts vs. 1.2s cuts per scene.
- CTA style: “Shop now” vs. “Choose your color” vs. “See it in action.”
Step 10: Measure what matters (quick testing framework)
When testing AI video from product images, focus on metrics that reflect both attention and intent.
- Thumb-stop / 3-second view rate: tells you if the hook and first frame work.
- Hold rate (avg watch time): tells you if pacing matches the promise.
- CTR: tells you if the message creates curiosity.
- CVR on product page: tells you if the video clarifies value (especially on mobile).
Practical tip: If CTR is strong but conversion is weak, your video may be overselling or unclear. Add a “how it works” beat, show scale, or include a proof/guarantee frame.
Common mistakes (and fixes)
- Mistake: Too much motion that hides details.
Fix: Use subtle camera moves; keep product large in frame. - Mistake: Claims not supported by visuals.
Fix: Pair each claim with the specific photo that proves it. - Mistake: Warped labels/logos during animation.
Fix: Reduce motion intensity; use close-ups as static frames with minimal movement. - Mistake: One-size-fits-all export.
Fix: Reframe for 9:16 and rewrite overlays to fit safe margins.
Quick checklist: ready to showcase product images with AI video
- 6–12 photos covering hero, details, context, variants, proof
- Single goal chosen (hook, explain, trust, compare)
- 15-second script: Hook → Benefits → Proof → CTA
- Storyboard with 6–10 scenes and matching overlays
- Prompt constraints to prevent morphing/distortion
- Exports for 9:16 and 1:1 (at minimum)
- 3–5 variations queued for testing
FAQ
Will AI video hurt trust if it looks “too AI”?
It can—especially for products where realism matters (skincare texture, fabric weave, electronics ports). Favor camera-motion animation over heavy scene generation, and keep claims tightly aligned to real photos.
How many images do I need for one video?
For a 12–20 second piece, 6–10 images is usually enough. More than that often reduces clarity unless you have a strong storyboard.
What if I only have white-background packshots?
You can still do it. Use close-ups, crop-ins, and clean on-screen text. If possible, add one contextual image (even a simple lifestyle shot) to communicate scale and use case.
Wrap-up
To showcase product images with AI video, you don’t need complex editing—just a clear goal, a tight photo sequence, controlled motion, and on-screen text that matches what shoppers see. Treat AI as a fast iteration engine: generate variations, test, and refine based on real performance.
If you’re looking for a streamlined way to turn product photos into short videos with minimal friction, platforms like UGCMade are designed for that kind of photo-to-video workflow.
