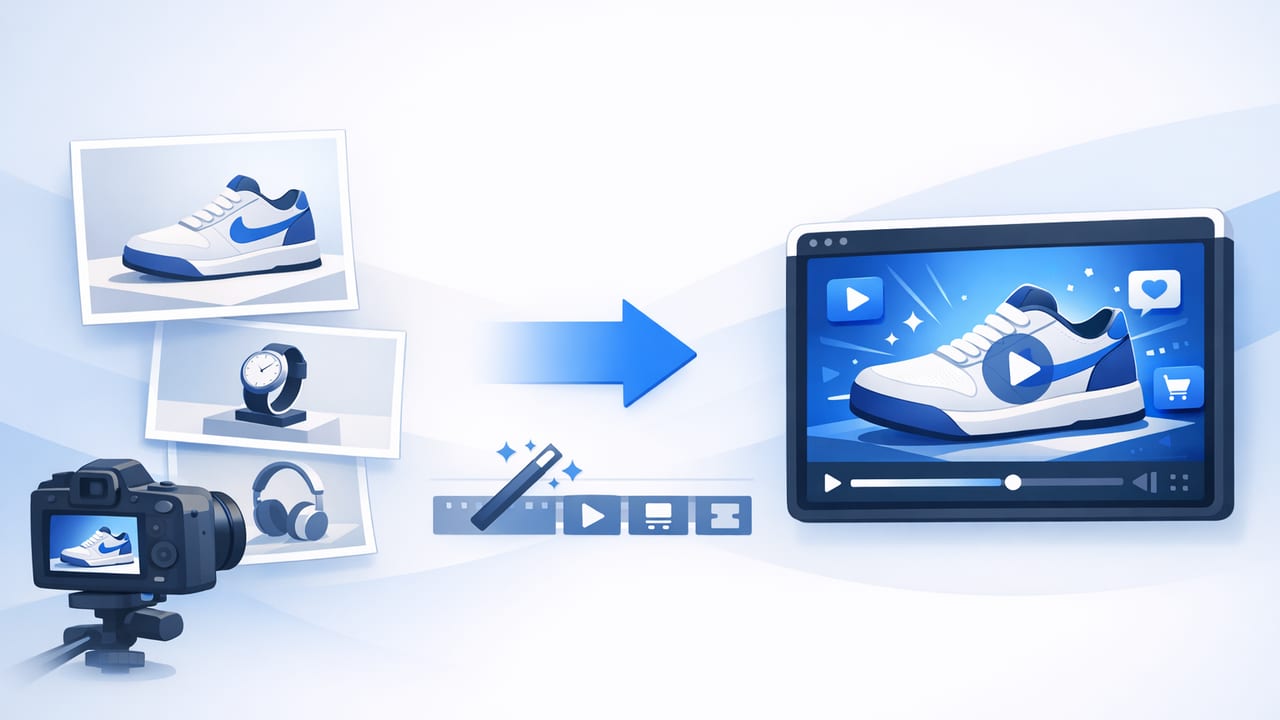
If you already have strong product photography, you’re sitting on a video library waiting to happen. The key is not fancy editing—it’s structure. When you turn product photos into marketing videos with the right sequence, motion, and copy, you can produce scroll-stopping creatives for ads, product pages, email, and marketplaces without reshooting everything.
This guide walks through a practical framework: what to plan, how to storyboard with stills, which specs matter per platform, and how to test for performance.
Why photo-to-video works (even when you don’t have footage)
Most platforms reward video placement and watch time, but buyers still want crisp product details—exactly what good photos provide. Converting photos into short videos combines both:
- Attention: motion and text overlays can earn the first 1–2 seconds you need to stop the scroll.
- Clarity: photos deliver sharp feature visibility (materials, color, fit, texture).
- Speed: you can produce more variations for testing (different hooks, headlines, offers).
- Consistency: your best product photos already match brand lighting and style guides.
In other words, you’re not “faking” video—you’re packaging product evidence in a format distribution channels prioritize.
Start with the job of the video (one goal per creative)
Before you open any editor, decide what the video must accomplish. Each goal changes the order of images and the words on screen:
- Cold awareness: win attention and communicate “what it is” fast.
- Consideration: explain benefits, differentiators, and how it works.
- Conversion: reduce purchase anxiety (proof, guarantees, shipping, returns).
- Retention: show setup, tips, accessories, or upgrades.
A common mistake is trying to do all four in 15 seconds. Pick one, then build a storyboard that supports it.
A simple 6-scene storyboard you can build from photos
When you turn product photos into marketing videos, the storyboard matters more than transitions. Use this reliable 6-scene structure for most products (10–25 seconds total):
Scene 1: Hook (0–2s)
Use your strongest image (often the “hero” shot). Add a bold promise or curiosity line:
- “Stop wasting space in your carry-on.”
- “The 30-second clean you’ll actually keep doing.”
- “Designed for sensitive skin—without the guesswork.”
Scene 2: Problem (2–5s)
Show the pain point visually if possible (mess, clutter, irritation, poor results). If you only have product photos, use text to create contrast:
- “No more [common frustration].”
- “If you’ve tried X and it didn’t work…”
Scene 3: Solution (5–10s)
Reintroduce the product as the fix. Use a different angle photo (side profile, in-hand, scale reference). Add one clear “what it does” line.
Scene 4: Key benefits (10–17s)
Show 2–3 benefits max. Pair each benefit with the most relevant photo detail shot:
- Benefit: “Stays cold for 24 hours” → insulation cross-section photo or lifestyle hero.
- Benefit: “Fits in cup holders” → dimension/fit photo.
- Benefit: “Gentle on skin” → ingredient/texture photo.
Scene 5: Proof (17–22s)
Use review screenshots (with permission), star ratings, press badges, or “before/after” images (only if you can substantiate claims). If proof is limited, use a risk reducer:
- “Free returns”
- “2-year warranty”
- “Ships in 24 hours”
Scene 6: CTA (last 2–3s)
Keep it specific and aligned to the goal:
- “Choose your color.”
- “See sizes & fit notes.”
- “Tap to shop the set.”
Rule of thumb: If the viewer can’t explain what the product is and why it’s better by second 7, the creative is too slow.
Prep your photos for video (so they look intentional, not like a slideshow)
Video exposes inconsistencies. Do a quick photo prep pass so the final asset feels designed.
Photo prep checklist
- Resolution: use the largest originals you have (avoid upscaling tiny thumbnails).
- Framing: export crops for vertical (9:16) and square (1:1) if needed.
- Consistency: match color temperature and brightness across images.
- Background: remove distracting clutter; keep negative space for text overlays.
- Sequence variety: alternate wide → medium → detail to create rhythm.
- Text-safe areas: keep key product details away from top/bottom UI overlays.
Motion that sells: simple moves that add life to still images
You don’t need complicated animation. The most effective motion is subtle and directional, guiding the eye to what matters.
- Ken Burns (pan/zoom): slow zoom into a feature detail or out to reveal the full product.
- Parallax layers: separate foreground product from background for depth (use sparingly).
- Cut on meaning: switch images when the caption changes, not every 0.5 seconds.
- Feature callouts: simple lines/arrows that point to ports, seams, materials, or texture.
Pair motion with short captions. Many people watch on mute, and captions also force clarity.
Platform specs that keep your video readable
When you turn product photos into marketing videos, formatting mistakes can silently kill performance (cropped text, tiny fonts, wrong duration). Use this as a starting point and adapt to your analytics.
| Placement | Best Aspect Ratio | Recommended Length | Notes |
|---|---|---|---|
| TikTok / Reels / Shorts | 9:16 | 10–25s | Big captions, strong hook in first 2s |
| Instagram Feed | 4:5 or 1:1 | 6–15s | Keep key text centered; avoid tiny details |
| Facebook Feed | 4:5 or 1:1 | 10–20s | Clear offer + proof tends to matter more |
| LinkedIn Feed | 1:1 or 4:5 | 10–30s | Lead with outcome and credibility signals |
| Product Pages | 16:9 or 1:1 | 20–45s | Prioritize benefits, FAQs, and objections |
Audio, voiceover, and on-screen text: choose one “leader”
Great creatives usually have one primary communication channel:
- Text-led: best for broad targeting and mute viewing; keep lines under ~7 words.
- Voiceover-led: best when explaining a mechanism or routine; match visuals to each line.
- Music-led: best for aesthetic/lifestyle products; rely on tight captions and pacing.
If you use music, make sure you have rights for ads (platform “commercial music libraries” are safer than trending tracks).
A repeatable workflow to produce variations quickly
Winning ads often come from iteration, not perfection. Build a workflow that makes it easy to produce 5–10 versions.
- Create a “scene bank” folder: Hook images, benefit images, proof images, CTA images.
- Write 10 hook lines: pain-point hooks, curiosity hooks, outcome hooks.
- Make 3 benefit stacks: different angles (speed, comfort, durability, aesthetics).
- Standardize styling: one font pair, consistent caption placement, consistent brand colors.
- Batch export: export in sets (v1–v10) with clear naming like product_hookA_benefitSet2_9x16.mp4.
What to test first (highest leverage)
- Hook: swap only the first 2 seconds and keep everything else identical.
- Benefit order: lead with the strongest differentiator (not necessarily the most “features”).
- Proof type: reviews vs. warranty vs. “as seen in” badges.
- CTA framing: “Shop now” vs. “Choose your size” vs. “See it in action.”
DIY: create a basic photo-to-video clip with FFmpeg
If you want a quick, lightweight method (no timeline editor), you can generate a simple vertical video from a sequence of images and add background audio. Here’s a starter example:
# 1) Put images in a folder named frames/ as 0001.jpg, 0002.jpg, ...
# 2) Create a 1080x1920 video at 30fps, showing each image ~1.5s
ffmpeg -r 0.666 -i frames/%04d.jpg -vf "scale=1080:1920:force_original_aspect_ratio=increase,crop=1080:1920" \
  -r 30 -c:v libx264 -pix_fmt yuv420p photos_to_video.mp4

# Optional: add an audio track (trim to match video length)
ffmpeg -i photos_to_video.mp4 -i music.mp3 -shortest -c:v copy -c:a aac final_with_audio.mp4
This won’t add captions or callouts, but it’s useful for quick drafts you can refine later.
Common mistakes (and how to fix them)
- Too many words: replace paragraphs with short, punchy captions. One idea per scene.
- Generic claims: “High quality” becomes “Ripstop nylon + double stitching” (show the seam photo).
- Weak first frame: don’t open on packaging or a logo; open on the product in its best context.
- Inconsistent lighting: normalize exposure/white balance so the video doesn’t “flicker” between shots.
- No proof: add at least one credibility element—ratings, numbers, warranty, or clear policy.
- Ignoring safe zones: keep captions away from UI overlays (especially in 9:16).
Putting it all together: a quick checklist
- Goal: awareness, consideration, or conversion (choose one).
- Storyboard: hook → problem → solution → benefits → proof → CTA.
- Assets: wide/medium/detail photo mix + proof visuals.
- Design: consistent font, brand color accents, readable caption size.
- Specs: correct aspect ratio, duration, and text-safe placement.
- Testing: iterate hooks first, then benefit order, then proof and CTA.
Conclusion
To reliably turn product photos into marketing videos, focus on sequencing and clarity: a strong hook, a simple argument, and proof that reduces doubt. Once you standardize your storyboard and styling, you can create variations quickly and let performance data guide your next edits.
If you’re looking for a streamlined way to convert existing product images into short video creatives without building everything from scratch, tools like UGCMade can help simplify that workflow.
