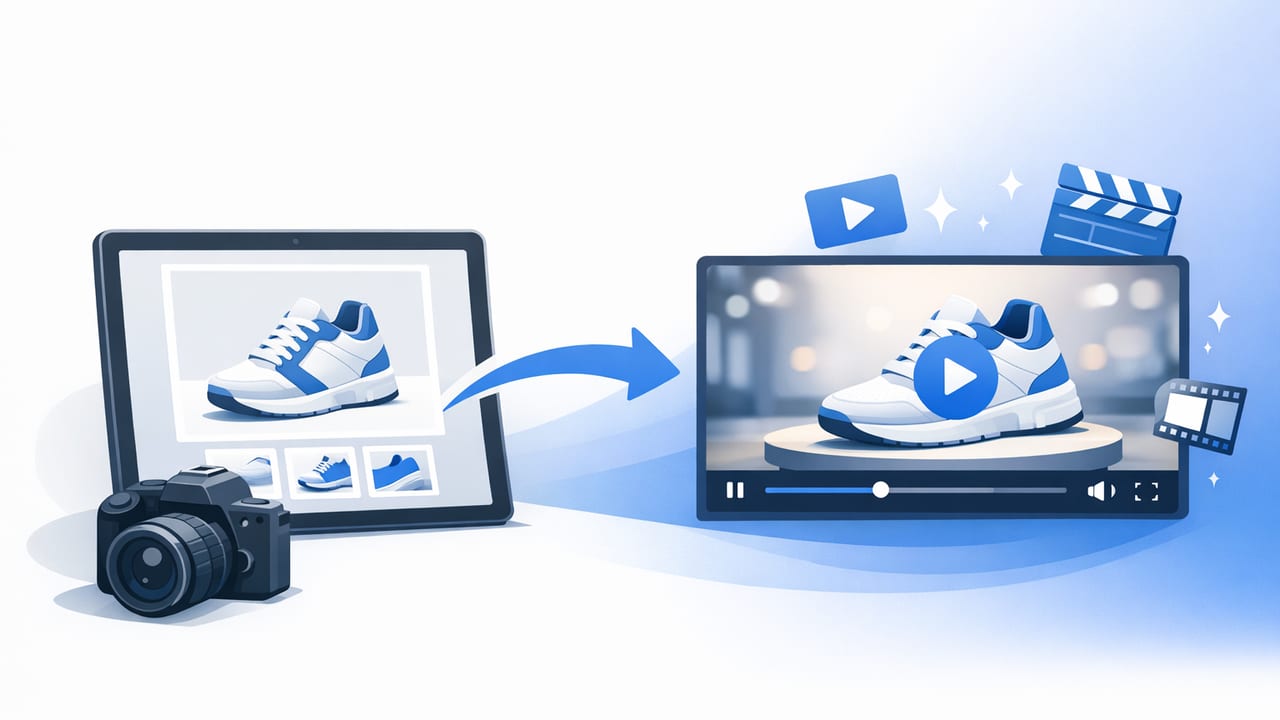
Most brands already have a library of product photography—but video marketing often feels like a separate, expensive project. The good news: you can turn product photos into videos that look intentional, feel on-brand, and drive measurable brand engagement without reshooting everything. The key is to stop thinking “slideshow” and start thinking visual storytelling: a sequence of images that answers questions, demonstrates value, and creates momentum.
This guide breaks down a practical, repeatable workflow for transforming existing product photos into high-performing video content for ads, product pages, and social feeds.
Why photo-to-video works (when done right)
Photos are great for clarity; video is great for attention and comprehension. Photo-based videos combine both: crisp visuals with motion cues, pacing, and messaging that help viewers understand the product faster.
- More stopping power: motion, even subtle, earns longer view time in crowded feeds.
- More context per impression: you can show benefits, steps, and proof in 10–20 seconds.
- More placements: a single photo set can become Reels, Shorts, Stories, PDP clips, and ad variations.
- More output from the same shoot: extend the ROI of product photography you already paid for.
Rule of thumb: If the viewer can understand what you sell in under 2 seconds, your video can focus on why it matters—benefits, proof, and differentiation.
Start with a goal: pick one job for the video
The biggest mistake in content creation is trying to do everything at once. Decide what this specific video must accomplish. Common “jobs” include:
- Introduce: “What is this?” (best for cold audiences)
- Differentiate: “Why this over alternatives?”
- Educate: “How does it work?”
- Reassure: “Is it worth it? Is it safe? Will it fit?”
- Convert: “Here’s the offer + next step.”
One goal makes it easier to choose photos, write overlays, and keep pacing tight.
Curate your photo set like a storyboard
Don’t start in an editor. Start by selecting images that can form a beginning, middle, and end. If you have dozens of photos, use only what supports the story.
A simple 8-shot structure (works for most products)
- Shot 1 (Hook): strongest hero image + a bold benefit line
- Shot 2 (Problem): what it solves (text-led if you don’t have a “problem” photo)
- Shot 3 (Product): clear product view, minimal distractions
- Shot 4–5 (Benefits): 2 key outcomes, one per scene
- Shot 6 (Proof): rating, testimonial excerpt, press line, or a stat
- Shot 7 (Details): size, ingredients, materials, compatibility, what’s included
- Shot 8 (CTA): “Shop now,” “Learn more,” or “See options”
If your product is visual (beauty, fashion, home), prioritize lifestyle photos. If it’s technical (gadgets, tools), prioritize close-ups, labeled callouts, and comparison frames.
Add motion the smart way: 6 patterns that don’t feel like a slideshow
You don’t need complex animation. You need motion that supports comprehension. These patterns work across industries:
- Ken Burns (slow pan/zoom): creates life without distracting from details.
- Cut-on-beat: change image exactly on music beats to increase perceived energy.
- Parallax depth: separate foreground/background for a subtle 3D feel (great for hero shots).
- Swipe reveals: show “before/after,” flavors, colors, or variants.
- Text-led scenes: use bold typography over a clean background when photos can’t show the point.
- Animated callouts: arrows, circles, or labels to highlight features (zippers, ports, textures).
Keep motion consistent with your brand: a premium brand often uses slower easing and minimal transitions; a youth or trend brand can use faster cuts and punchier typography.
Write overlays for scanning (not reading)
Most viewers watch with sound off at first. Overlays should be short, concrete, and benefit-led. Use these rules:
- One idea per scene (max 7 words is a helpful constraint).
- Lead with outcomes: “Smoother skin in 2 weeks” beats “Includes hyaluronic acid.”
- Use numbers (time, size, count, ratings) to add specificity.
- Design for mobile: high contrast, big type, safe margins.
Example overlay set for a water bottle:
- “Cold for 24 hours”
- “Leak-proof lid”
- “Fits cup holders”
- “4 colors available”
Match formats to placements (so you don’t lose quality)
Plan deliverables before you export. Different platforms reward different pacing and aspect ratios.
| Placement | Best Aspect Ratio | Typical Length | Best Use |
|---|---|---|---|
| Reels / Shorts | 9:16 | 8–20s | Hooks, fast benefits, variant showcases |
| Stories | 9:16 | 6–15s | Offer-led CTAs, quick proof |
| Feed (IG/FB) | 4:5 | 10–25s | Clear product + benefits + proof |
| YouTube (in-stream) | 16:9 | 15–30s | More explanation, stronger narrative |
| Product page (PDP) | 1:1 or 4:5 | 10–30s | Details, FAQ answers, reassurance |
Tip: build the 9:16 version first (mobile-first), then adapt to 4:5 and 1:1 by repositioning crops and re-centering text.
Build a repeatable workflow (so you can publish weekly)
Consistency wins in video marketing. Use a simple production system that scales:
- Collect: organize product photos by theme (hero, lifestyle, detail, UGC-style, packaging).
- Choose a template: one typography system, 2–3 transitions, brand colors.
- Write a 3-part script: hook → benefits → proof/CTA.
- Create 3 variations: different hook lines or first images (this matters most).
- Export in 3 sizes: 9:16, 4:5, 1:1.
- Test and iterate: keep winners, rework losers.
What to test (high impact, low effort)
- First frame: hero vs lifestyle vs close-up
- Hook text: benefit claim vs question vs social proof
- Speed: 0.8s cuts vs 1.2s cuts
- Proof type: ratings, testimonial, guarantee, comparison
- CTA: “Shop now” vs “See colors” vs “Learn more”
Optional: create a photo-to-video draft with FFmpeg
If you want a quick baseline draft before refining in an editor, you can assemble images into a video using FFmpeg. This is useful for batch content creation or internal previews.
# Create a 1080x1920 vertical video from sequential images (img001.jpg, img002.jpg...)
ffmpeg -r 1/2 -i img%03d.jpg \
  -vf "scale=1080:1920:force_original_aspect_ratio=increase,crop=1080:1920" \
  -c:v libx264 -pix_fmt yuv420p -r 30 output.mp4
Explanation: -r 1/2 shows each image for ~2 seconds; the filter scales and crops to vertical. You can then add text, music, and transitions in your preferred editor.
Common mistakes (and how to fix them fast)
- Mistake: Too many features, not enough benefits.
Fix: Rephrase every feature as an outcome (comfort, time saved, confidence, fewer spills). - Mistake: Text is tiny or low-contrast.
Fix: Add a subtle gradient behind text and increase font weight; keep safe margins. - Mistake: Generic transitions everywhere.
Fix: Limit to 2 transitions and use cuts more often for a cleaner feel. - Mistake: No proof.
Fix: Add one credibility element: rating, guarantee, testimonial, or “as seen in.” - Mistake: Pacing is flat.
Fix: Make the first 3 seconds faster; slow slightly for details mid-video.
A practical checklist before you publish
- Does the first frame clearly show the product?
- Is the hook benefit-led and readable in 2 seconds?
- Is there one idea per scene (no clutter)?
- Did you include at least one proof element?
- Are crops safe for each platform (no text cut off)?
- Is there a clear CTA that matches the goal?
Final thought: treat photo-to-video as a system, not a one-off
The brands that win with visual storytelling aren’t always the ones with the biggest production budgets—they’re the ones with a repeatable workflow. When you consistently turn product photos into videos built around a single goal, clean overlays, and platform-native pacing, you create a content engine that improves over time.
If you’d like a streamlined way to produce these kinds of photo-based clips at scale, tools that specialize in transforming product images into engaging videos—such as UGCMade—can help simplify the workflow while keeping your output consistent.
