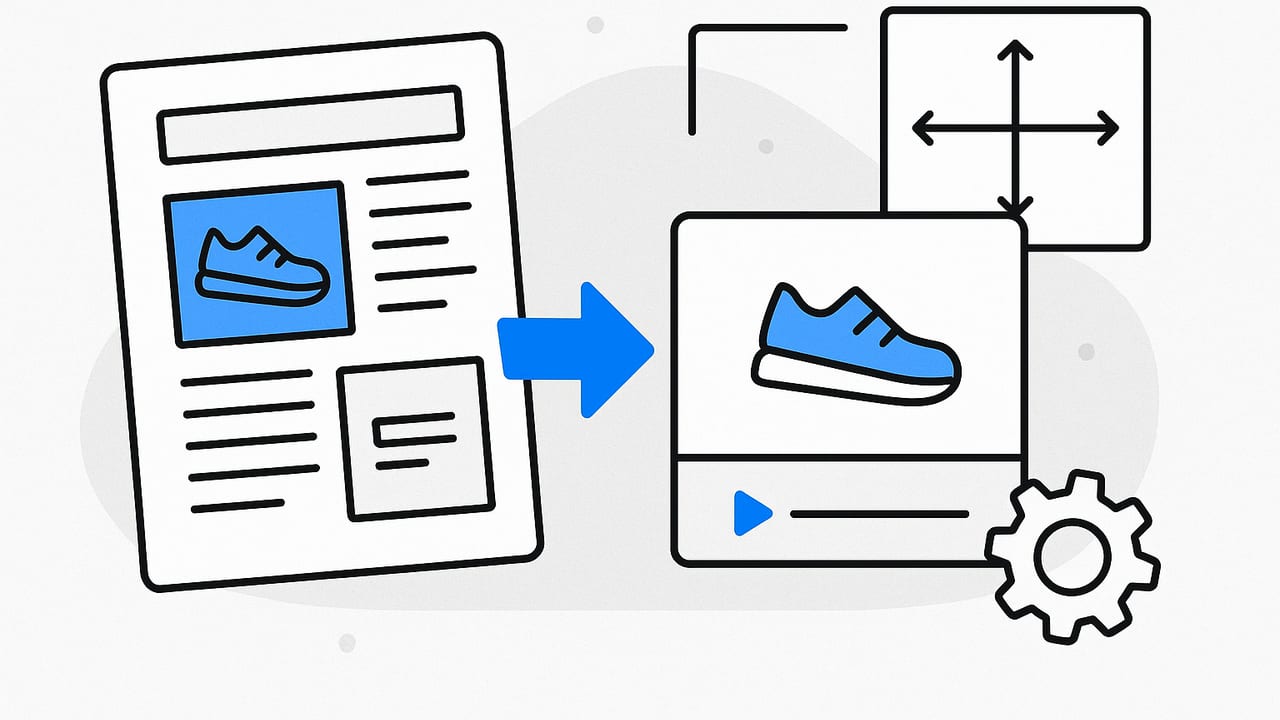
Turning product photos into short videos is one of the fastest ways to improve engagement, explain value, and lift conversions without a full production crew. A well-structured photo to video workflow can transform static assets into scroll-stopping clips for social feeds, product pages, ads, and email. This guide shows you how to plan creative, choose the right specs, automate production, and optimize performance at scale.
Creative principle: Every second should earn the next. If a moment doesn’t add clarity or desire, cut it.
Why photo to video works
- Motion wins attention: Subtle movement (pan, zoom, parallax) triggers curiosity in crowded feeds.
- Proof builds trust: Progress shots, before/after photos, and social proof create credibility quickly.
- Speed to market: Repurpose existing photography to test offers, angles, and audiences before investing in bigger shoots.
- Format flexibility: One image set can generate vertical, square, and horizontal versions for every channel.
Start with strategy: storyboard from photo to video
Plan the narrative first, then map each beat to a photo, motion cue, and caption. Keep your core message simple and aligned to a single action.
Three micro-story frameworks
- Problem → Outcome → Proof → CTA
- Hook: The problem your audience recognizes.
- Outcome: The after state your product enables.
- Proof: A testimonial, rating, or before/after photo.
- CTA: Tell viewers exactly what to do next.
- Feature → Benefit → Use Case → CTA
- Feature: What it is.
- Benefit: What it does for them.
- Use Case: When/where it helps.
- CTA: Encourage trial, view, or add to cart.
- Unboxing → Key Details → Social Proof → CTA
- Unboxing: Visual overview.
- Details: Materials, sizes, colors.
- Social Proof: Rating or quote.
- CTA: Next step.
Reusable script template (fill-in prompt)
HOOK (0-2s): [Problem/Outcome in 6-8 words] [On-screen text]
SCENE 1 (2-5s): Photo A + slight zoom-in
Caption: [Feature - 1 short line]
SCENE 2 (5-8s): Photo B + pan left-to-right
Caption: [Benefit - outcome in user language]
SCENE 3 (8-11s): Photo C + punch-in + rating badge
Caption: [Proof - stars/quote/metric]
CTA (11-13s): [Action: Shop now | See colors | Learn more]
Audio: [Upbeat track, 100-120 BPM]
Safe Zones: Keep text within center 70% width/height
When you’re scripting, speak the audience’s vocabulary, not internal feature names. Replace “premium ergonomic polymer” with “stays comfy all day.”
Platform specs and ratios (recommended)
Design once, export many. Use the table below to match output to each channel’s best-performing norms. These are practical recommendations rather than hard limits, optimized for attention and clarity.
| Channel | Preferred Ratio | Recommended Length | Captions & Safe Zones | Notes |
|---|---|---|---|---|
| TikTok | 9:16 (1080x1920) | 7–20s for TOFU, 20–35s for demos | Burn-in captions; keep text away from top/bottom UI bars | Use strong 0–2s hook; trend-aligned audio where relevant |
| Instagram Reels | 9:16 | 6–15s for promos, up to 30s for explainers | Caption contrast for readability | Consider UGC-style text stickers; Reels loops can boost completion |
| YouTube Shorts | 9:16 | 8–20s | On-screen text sized for mobile | Emphasize clarity over jump cuts; add chapters only in long-form |
| Facebook Reels/Feed | 9:16 or 4:5 | 6–15s | Subtitles required for sound-off | Brand mark in corner; avoid dense type |
| 2:3 or 9:16 | 6–15s | High-contrast text overlays | Lean into aesthetics, color harmony, and step-by-step frames | |
| Amazon PDP | 16:9 (1920x1080) | 15–45s | Minimal text; clear product angles | Follow category policies; focus on utility/proof |
| Shopify PDP | 1:1 or 16:9 | 5–20s loop | Non-intrusive captions | Demonstrate size, materials, and use in context |
Prep your assets for motion
- Resolution: Aim for 2000px on the shortest edge to allow zoom without pixelation.
- Consistency: Keep lighting and color temperature consistent across photos; batch-correct in your editor.
- Backgrounds: Clean, high-contrast backgrounds reduce compression artifacts and highlight the subject.
- Cutouts: Create PNG cutouts for parallax effects (foreground vs. background layers).
- Text style guide: 2 font sizes max; 1–2 brand colors for on-screen text; test legibility on a small phone.
- Audio library: Maintain a shortlist of 6–8 tracks at 95–120 BPM that fit your brand mood.
Workflow: from folder to finished clip
- Shot list
Define 4–6 beats: hook, feature, benefit, proof, CTA. Map each beat to a filename like 01_hook.jpg, 02_feature.jpg. - Motion plan
Assign motion type per photo: slight zoom-in for hero, pan left→right for details, zoom-out for context. - Captions
Write 6–9 word lines. Keep to one idea per frame; add emojis sparingly if on-brand. - Assembly
Use your editor or automation. For technical teams, you can prototype with FFmpeg.
Quick FFmpeg prototype (vertical, 12s, gentle motion)
# Assumes photos/01.jpg ... photos/06.jpg
# Each image shows ~2s with a subtle zoom; add text overlay & export 9:16.

ffmpeg \
  -r 1 -i photos/%02d.jpg \
  -filter_complex "
    [0:v]scale=1080:-2,setsar=1,format=yuv420p, \
    zoompan=z='min(zoom+0.0015,1.15)':d=60:fps=30:s=1080x1920, \
    drawtext=text='Stays comfy all day':fontcolor=white:fontsize=48: \
             x=(w-text_w)/2:y=h*0.78:box=1:boxcolor=0x000000AA, \
    eq=contrast=1.05:brightness=0.02
  " \
  -t 12 -movflags +faststart -pix_fmt yuv420p out_vertical.mp4
This snippet is a starting point for a rough cut. For production, add proper font files, safe-zone guides, and multiple text layers. If you need multiple aspect ratios, render master comps at 2160x3840 (4K vertical) and downscale for platforms.
Shot list JSON example
{
  "title": "Comfort Sneaker 13s",
  "fps": 30,
  "ratio": "9:16",
  "beats": [
    {"img": "01_hook.jpg", "dur": 2.2, "motion": "zoom_in", "text": "Foot pain? Try this"},
    {"img": "02_feature.jpg", "dur": 2.0, "motion": "pan_lr", "text": "Cloud-foam support"},
    {"img": "03_benefit.jpg", "dur": 2.3, "motion": "zoom_in", "text": "Walk 2x longer"},
    {"img": "04_detail.jpg", "dur": 2.0, "motion": "pan_rl", "text": "Breathable knit"},
    {"img": "05_proof.jpg", "dur": 2.0, "motion": "zoom_in", "text": "4.8★ from 2,143 reviews"},
    {"img": "06_cta.jpg", "dur": 2.5, "motion": "zoom_out", "text": "See colors →"}
  ]
}
Optimization: make every second count
- Hook smarter: First 1–2 seconds should show the desired outcome or the pain point instantly. Use a bold claim only if you can substantiate it in the same clip.
- On-screen text: Keep to 30–40 characters per line; set stroke or box for contrast. Avoid walls of text.
- Proof pack: Ratings, certifications, or “as seen in” logos reduce purchase friction; keep them readable.
- Music and SFX: Align beat drops to scene cuts. Use subtle whooshes for motion accents.
- CTAs by funnel stage: TOFU: “See how it works”; MOFU: “Compare sizes”; BOFU: “Shop now — free shipping.”
Test plan (lightweight)
- Creative A/B: Hook angle (problem vs. outcome).
- Caption A/B: Feature-first vs. benefit-first language.
- Timing A/B: 9–11s vs. 12–15s total duration.
- Format A/B: Square vs. vertical on Facebook Feed.
Run each test for a fixed budget or impression count. Keep only one variable per test.
Metrics that matter
- Hook rate (3s view/impression): Target 25–35% on social. If low, fix the first frame and headline.
- Hold rate (avg. watch time/length): Aim for 65–85% on sub-15s videos. Tighten pacing to improve.
- CTR or profile taps: Validate message-market fit; raise with clearer CTA and value framing.
- Add-to-cart/Detail page views: For PDP videos, watch interaction depth and scroll depth.
- Cost per result (ads): Compare across creative cohorts to decide winners to scale.
Common pitfalls and quick fixes
- Stale first frame: If your opener looks like a static banner, add immediate motion or a bold before/after jump cut.
- Over-zooming: Keep zoom under 1.15–1.2x unless you’re emphasizing a micro-detail.
- Text too small: Design for a 5.5-inch screen; test readability at arm’s length.
- Feature soup: One benefit per beat. Extra claims belong in the next variant.
- Off-brand color grading: Batch-correct warmth and saturation; tune white balance early.
Accessibility and compliance
- Captions: Always include. Prefer burned-in captions for social; upload SRT/VTT for PDPs.
- Contrast: Maintain minimum 4.5:1 for text over video.
- Motion sensitivity: Avoid rapid strobe or excessive shake; respect platform guidelines.
- Licensing: Confirm music, font, and image rights; keep a rights log per asset.
- Internationalization: Keep text out of busy backgrounds to ease translation; avoid idioms that don’t localize.
Scale with AI: faster variations, consistent quality
- Prompt by framework: Ask for multiple variants of the same script: problem-led, outcome-led, testimonial-led.
- Batch shot mapping: Provide the AI with a numbered photo list and request beat mappings plus caption drafts.
- Voiceover cloning: Generate short VOs in a consistent brand tone; auto-duck music under VO.
- Automated resizing: Create master comps that auto-generate 9:16, 1:1, and 16:9 exports with safe-zone-aware text placement.
- Compliance checks: Use AI to flag low-contrast captions, text overflow, or missing alt text.
AI caption prompt starter
Write 6 caption lines (max 8 words each) for a 12s product video made from photos of a [product]. Tone: clear, friendly, confident. Constraints: one benefit per line, no jargon, no exclamation marks, readable at small sizes, include one proof line (rating or metric).Putting it all together
- Decide the goal (awareness, clicks, add-to-cart).
- Pick a framework (e.g., Problem → Outcome → Proof → CTA).
- Curate 4–6 photos that clearly tell the story.
- Define motion + captions per beat.
- Export for each channel with the correct ratio, length, and safe zones.
- Test and iterate based on hook rate, hold rate, and CTR.
As you iterate, build a library of reusable hooks, captions, and motion presets. Over time, you’ll spend less time producing and more time learning what actually moves your metrics.
If you want a streamlined way to convert product photos into engaging, AI-assisted videos without heavy editing, tools like UGCMade can help you prototype and scale while keeping creative quality consistent.
