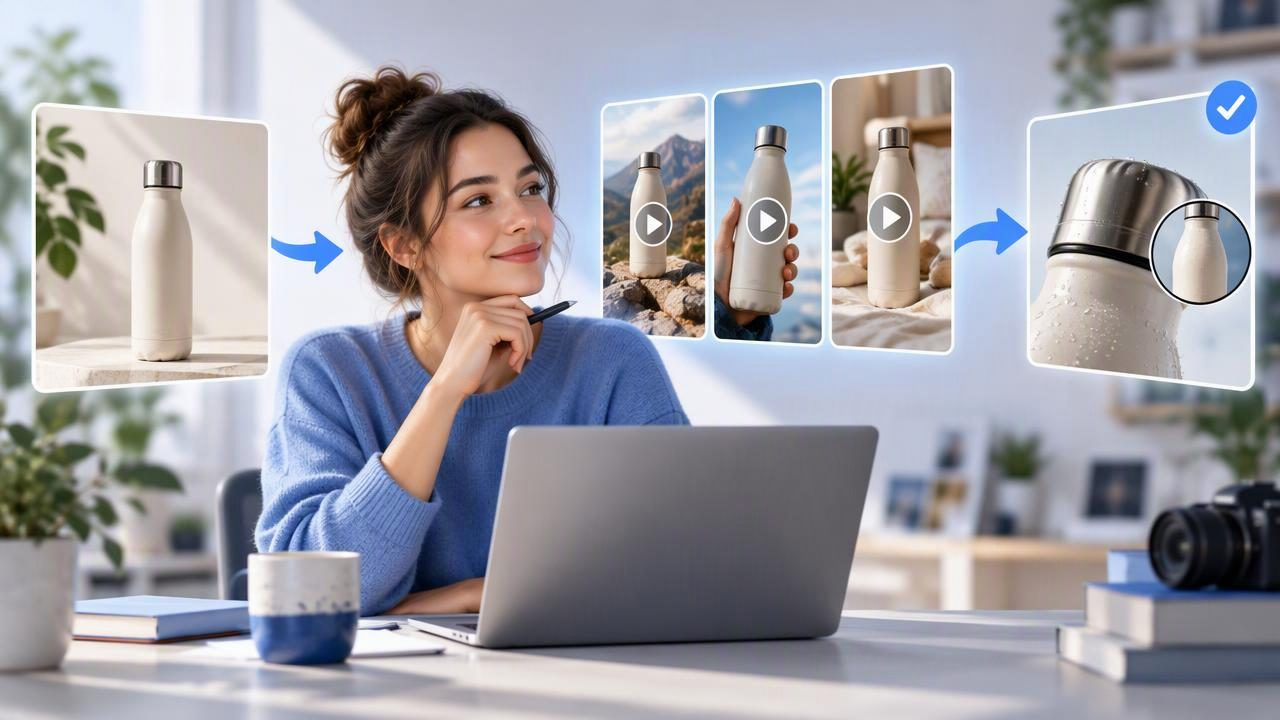
A product photo can be a useful starting point for video marketing, even when you do not have a full product shoot planned. A photo-to-video platform can help you explore short, creator-inspired concepts from a still image. The key is to treat each result as a creative draft—not as proof of how a product works or how customers will respond.
For beginners, the most useful workflow is simple: choose a clear image, decide what one video should communicate, create a small set of distinct concepts, then compare them against the same checklist. This guide explains how to do that, using an illustrative product example and clear limits for what AI-generated video can show.
What a photo-to-video platform can—and cannot—do
A photo-to-video platform uses a still product image as visual input for a moving video concept. Depending on the tool and its options, a result might add motion, a scene, text, or a creator-style presentation. The exact controls and output vary by platform, so check its instructions rather than assuming every tool works the same way.
This approach can support early-stage content creation: you can explore possible hooks, settings, and story angles before committing to a larger production. It does not automatically provide verified product demonstrations, authentic customer opinions, or evidence that a concept will perform well. Generated movement and scenes may be imagined, and small visual details can change. Always review the result against the real product and your approved claims.
Start with a product photo that gives the tool a clear reference
The source image influences what the video can represent. A clean, well-lit photo with a visible product outline is generally easier to evaluate than a dark image, a busy collage, or a shot where the product is partly hidden. Before uploading, consider these basics:
- Show the product clearly. Keep its shape, packaging, and important design details visible.
- Use a suitable crop. Leave some space around the item if you expect movement or a changing composition. Avoid cropping off a cap, handle, or other identifying feature.
- Check the background. A simple setting can make it easier to notice whether the generated scene distracts from the item.
- Use an image you have permission to use. Check applicable rights, privacy rules, and the platform's upload terms, especially when a photo includes people or third-party material.
- Keep a reference copy. Compare every generated frame with the original image and, when possible, with the actual product.
One image may not show every feature. If a product has a distinctive texture, multiple parts, or instructions for use, do not expect a single front-facing photo to communicate all of that reliably. Add accurate information to your brief, use additional references if the platform allows them, or plan a real demonstration for details that must be shown precisely.
Write a brief before generating concepts
Beginners often get more useful comparisons by deciding what they want to learn before generating options. Write down the audience, the video's main message, and the action you want viewers to consider. Keep the brief focused on one idea; trying to explain every benefit in a short clip can make the result confusing.
For example, imagine a hypothetical reusable water bottle. Its photo shows the bottle, but does not establish that it is leakproof, keeps drinks cold, or fits a particular cup holder. A careful brief might say: “Create a short, friendly concept introducing the bottle's visible design for people looking for an everyday hydration option. Do not add performance claims or show unverified use.” The product is only an example; no video result or product feature is being reported here.
This wording gives the concept a direction while setting boundaries. If a claim matters, confirm it from approved product information before putting it into a script or on-screen text. If the image does not show an action, treat any generated action as a suggestion to review—not a verified demonstration.
Compare distinct UGC-style video concepts
Instead of asking for several near-identical versions, vary one creative choice at a time. That makes it easier to see what changed. For the hypothetical bottle, you might compare these creative directions:
- Design introduction: A creator-style opening that draws attention to the bottle's visible shape and color.
- Everyday context: A casual setting, such as a desk, used to frame the bottle as an item someone might keep nearby. Do not imply a customer actually used it.
- Question-led hook: A short opening question about choosing a reusable bottle, followed by a clear view of the item.
These are examples of concepts to explore, not actual outputs, user testimonials, or measured results. A creator-inspired visual style is not the same as genuine user-generated content. Do not present a generated person as a real customer or attribute opinions to them. If you use a fictional presenter, make sure the final content does not mislead viewers about who is speaking or what they experienced.
For a fair comparison, keep the product image, approximate length, and core message consistent while changing the hook or setting. If you change several elements at once, you may not know which creative choice made one draft feel clearer. A simple comparison table can help:
| Check | What to look for |
|---|---|
| Product accuracy | Does the shape, color, label, and visible construction match the reference? |
| Message clarity | Can a viewer understand the intended point without unsupported claims? |
| Opening | Does the first moment establish a relevant reason to keep watching? |
| Visual focus | Does movement or scenery support the product rather than obscure it? |
| Trust | Could a viewer mistake a fictional scene, person, or action for a real customer experience? |
Review the result frame by frame
Do not approve a video after watching it once at normal speed. Pause at moments when the product turns, moves, or appears alongside text. Look for distorted proportions, changing packaging, garbled labels, unexpected accessories, or actions the real item cannot perform. Check that captions are legible and that any spoken or written statement matches approved information.
Also review the opening and ending. A strong visual start is not useful if it introduces a claim the rest of the video cannot support. The final frame should not add an invented offer, certification, review, or call to action. If something looks wrong, revise the brief, try a more suitable source image, or leave that idea out. Some errors may persist despite repeated attempts; not every still image is a good fit for every kind of motion.
Use a small, consistent test plan
When several drafts look accurate, select a limited number for a controlled creative test rather than publishing every variation at once. Keep the audience, placement, and other campaign conditions as consistent as practical, and change one creative variable at a time. Define the metric that matters to your objective before reviewing results. A view, click, or purchase can indicate different things, and none alone proves why a concept performed as it did.
Generated concepts can help you prepare options for review, but they do not guarantee audience response or business outcomes. Any performance comparison depends on factors beyond the video, including targeting, offer, timing, and delivery. Treat results as evidence for that test context, not a promise that the same creative will work elsewhere. For more on planning a comparison, see this guide to testing ad variations.
Common beginner mistakes to avoid
- Starting without a goal: Decide whether the draft should introduce a product, explain a verified feature, or explore a hook.
- Putting too much in one short video: Focus on one message and save other points for separate concepts.
- Assuming generated details are accurate: Verify every claim, label, action, and product attribute against reliable references.
- Calling a generated scene a testimonial: Use transparent framing and never invent a real customer's identity, words, or experience.
- Comparing unlike drafts: Keep most variables stable so the creative difference is understandable.
- Skipping rights and policy checks: Confirm you can use the source assets and that the finished content meets relevant advertising and platform rules.
A practical first-session checklist
Before you begin, select one product image and write one short brief with the audience, main message, and boundaries on claims. Generate a few concepts that differ in one clear creative choice. Label them by concept—not by an assumption that one is the winner. Then review product accuracy, clarity, trust, and suitability for the intended placement.
If the drafts are not good enough to publish, they may still help identify what needs a better photo, clearer product information, or a real shoot. That is a useful outcome: the point is not to force every image into a finished ad, but to make informed creative decisions. For an overview of this workflow, UGCMade's guide to turning a product photo into video offers related context.
