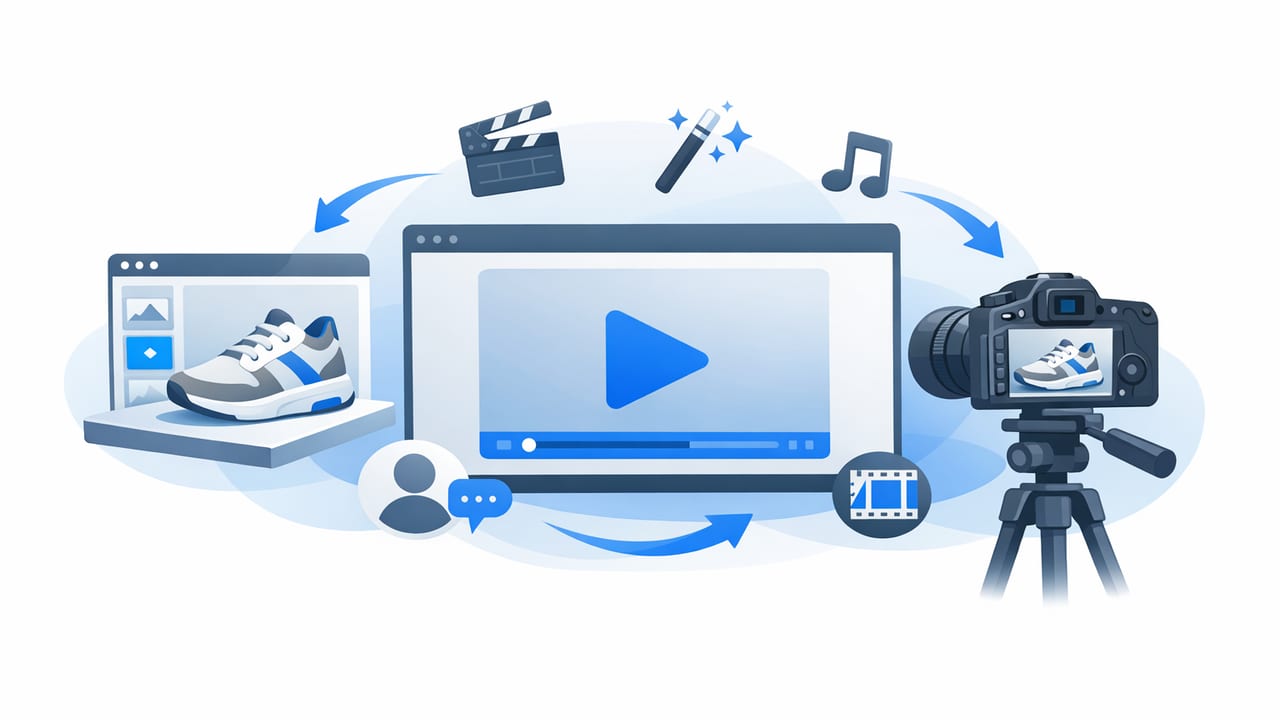
A product image video is exactly what it sounds like: a short video built primarily from still product photos (plus motion, text, and audio) to communicate value faster than static images. Done well, it can outperform “pretty” product photography because it adds sequence—a beginning, middle, and end that guides attention, answers objections, and drives action.
This guide breaks down a practical, repeatable approach to planning and producing photo-based videos for ads, product pages, marketplaces, and email—without needing an expensive shoot or complex gear.
Why product image videos work (even when you already have great photos)
Product photography is essential, but audiences now consume information in motion-first environments. A product image video bridges the gap between high-quality stills and the expectations of modern feeds.
- More information per second: You can show multiple angles, benefits, and proof points in 10–20 seconds.
- Better attention control: Motion (zooms, pans, cuts) directs the eye to what matters.
- Stronger clarity: On-screen text can translate specs, sizing, and differentiators instantly.
- More creative testing: You can swap hooks, text, and order of frames without reshooting.
Where a product image video fits in the funnel
Different placements need different storytelling. Use this as a quick mapping:
| Funnel stage | Goal | Best photo types | Video length |
|---|---|---|---|
| Top (awareness) | Stop the scroll, introduce the problem | Bold lifestyle hero + simple product shot | 6–12s |
| Mid (consideration) | Explain benefits, reduce confusion | Angles, close-ups, feature callouts | 12–25s |
| Bottom (conversion) | Overcome objections, add proof | Before/after, comparison, reviews | 15–30s |
| Retention | Usage, care, cross-sell | How-to steps, bundles, variants | 10–20s |
Pre-production: build the “photo-to-video” plan in 20 minutes
You don’t need a full script—just a sequence. The biggest mistake with photo-based videos is dumping images into a slideshow without a narrative. Instead, outline the message order.
1) Pick one promise (not ten features)
Define the single most compelling outcome:
- “Smoother skin in 2 weeks”
- “Fits in a carry-on and charges fast”
- “Zero-spill lid you can open one-handed”
2) Choose a hook type that matches the audience
Photo-based videos can hook fast with text + a hard-cut:
- Problem hook: “Tired of ____?”
- Outcome hook: “Get ____ in minutes.”
- Comparison hook: “Stop buying ____.”
- Proof hook: “10,000+ customers switched.”
3) Gather the right photos (minimum viable set)
For a strong product image video, aim for:
- 1 hero image (clean, high contrast)
- 3–5 detail shots (texture, materials, features)
- 1–2 lifestyle shots (context of use)
- 1 proof asset (review screenshot, rating badge, press mention)
- 1 offer/CTA frame (bundle, guarantee, shipping, etc.)
Rule of thumb: If a photo doesn’t answer a question (What is it? How does it work? Why trust it?), it’s decoration—cut it.
Storyboard templates that convert (copy-and-paste sequences)
Use these frameworks to arrange photos into a persuasive sequence.
Template A: Benefit-first (great for paid social)
- Hook (0–2s): Outcome statement + bold hero photo
- Problem (2–5s): Lifestyle photo + “before” pain point text
- Solution (5–10s): Product angle + feature callouts
- Proof (10–14s): Review/rating + quick credibility text
- Offer/CTA (14–18s): Guarantee, shipping, “Shop now”
Template B: Feature stack (great for product pages)
- Hero + product name
- Feature 1 (close-up) + benefit line
- Feature 2 (close-up) + benefit line
- Feature 3 (lifestyle) + benefit line
- Size/what’s included + CTA
Template C: Objection crusher (great for higher-priced items)
- Hook + price anchoring (“Worth it because…”)
- Objection 1 (“Will it fit?”) + sizing photo
- Objection 2 (“Is it durable?”) + materials detail
- Objection 3 (“Is it easy?”) + simple usage steps
- Proof + guarantee + CTA
Editing rules: what makes a product image video feel like “real video”
To avoid the basic slideshow look, focus on motion, pacing, and readability.
Motion: add movement with intent
- Use slow zooms (2–5% scale over 1–2 seconds) to create depth.
- Pan across details to reveal texture and construction.
- Cut on message: change the image when the text changes.
Pacing: win the first 2 seconds
- Keep early shots short: 0.6–1.2s per frame in the hook.
- Slow down slightly for proof/objections: 1.2–2.0s.
- Use pattern interrupts every 3–5 seconds (new layout, new angle, new background).
Text: design for small screens
- One idea per frame (max 8–10 words).
- High contrast text, avoid thin fonts.
- Place key text in the safe zone (avoid edges where UI overlays appear).
- Add captions if you include voiceover; many placements autoplay muted.
Specs & formats: deliver the right version for each channel
Instead of exporting one file for everything, create variants from the same timeline.
| Placement | Aspect ratio | Recommended length | Notes |
|---|---|---|---|
| Short-form feeds | 9:16 | 10–20s | Big text, fast hook, frequent cuts |
| Stories | 9:16 | 6–15s | Use a strong CTA and simple message |
| Product page / PDP | 1:1 or 16:9 | 15–30s | Clarity beats hype; show features and size |
| Email embed / landing | 1:1 or 16:9 | 6–12s | Silent-friendly; lead with product + benefit |
SEO bonus: add VideoObject schema to help discoverability
If you publish your product image video on your site (e.g., on a product page or blog), structured data can help search engines understand it. Here’s a minimal example you can adapt:
<script type="application/ld+json">
{
  "@context": "https://schema.org",
  "@type": "VideoObject",
  "name": "How the Bottle Lid Prevents Leaks",
  "description": "A short product image video showing key features and benefits.",
  "thumbnailUrl": [
    "https://example.com/thumbnails/bottle-lid.jpg"
  ],
  "uploadDate": "2026-01-15",
  "duration": "PT18S",
  "contentUrl": "https://example.com/videos/bottle-lid.mp4",
  "embedUrl": "https://example.com/pages/bottle"
}
</script>
Tip: Keep titles descriptive (feature + product) rather than clever. That improves relevance for both SEO and on-site scanning.
Quality checklist (use before you export)
- Hook clarity: Can someone understand the promise with sound off in 2 seconds?
- Image consistency: Colors, brightness, and background don’t jump distractingly.
- Legibility: Text is readable on a phone at arm’s length.
- Proof included: A review, rating, guarantee, or credible claim support exists.
- CTA present: “Shop,” “Learn more,” or a specific next step appears near the end.
- Branding subtle: Logo/watermark is not overpowering; let the product lead.
Common mistakes (and how to fix them fast)
1) Too many photos, not enough story
Fix: Cut ruthlessly. Keep only frames that answer a buying question: outcome, features, size, usage, proof.
2) Every frame uses the same layout
Fix: Alternate between full-bleed image, split-screen (image + text), and close-up crops to create rhythm.
3) Text feels like a brochure
Fix: Use customer language. Replace “Premium, innovative design” with “Doesn’t wobble on uneven counters.”
4) No visual hierarchy
Fix: One headline per frame. Use a smaller subline only when necessary (e.g., “BPA-free • Dishwasher safe”).
Simple testing plan: improve performance without reshooting
Because you’re working from photos, you can run fast A/B tests. Start with:
- Hook test: Problem vs outcome vs proof (same rest of video).
- Order test: Lead with lifestyle vs lead with clean product shot.
- Proof test: Review screenshot vs star rating badge vs “X sold.”
- CTA test: “Shop now” vs “See shades” vs “Compare sizes.”
Track not only clicks, but also thumb-stop rate (first 3 seconds), hold rate (average watch time), and post-click conversion. A video that gets fewer clicks can still win if it qualifies better buyers.
Conclusion: treat photos like scenes, not slides
The fastest way to level up a product image video is to think like a storyteller: open a loop, reveal the product as the solution, prove it works, and close with a clear next step. With a solid photo set and a handful of motion and text rules, you can produce consistent creative for ads, PDPs, and lifecycle marketing without a full video shoot.
If you’re looking for a streamlined way to turn existing product photos into polished video variations, platforms like UGCMade can help simplify production while keeping the focus on clarity and conversion.
