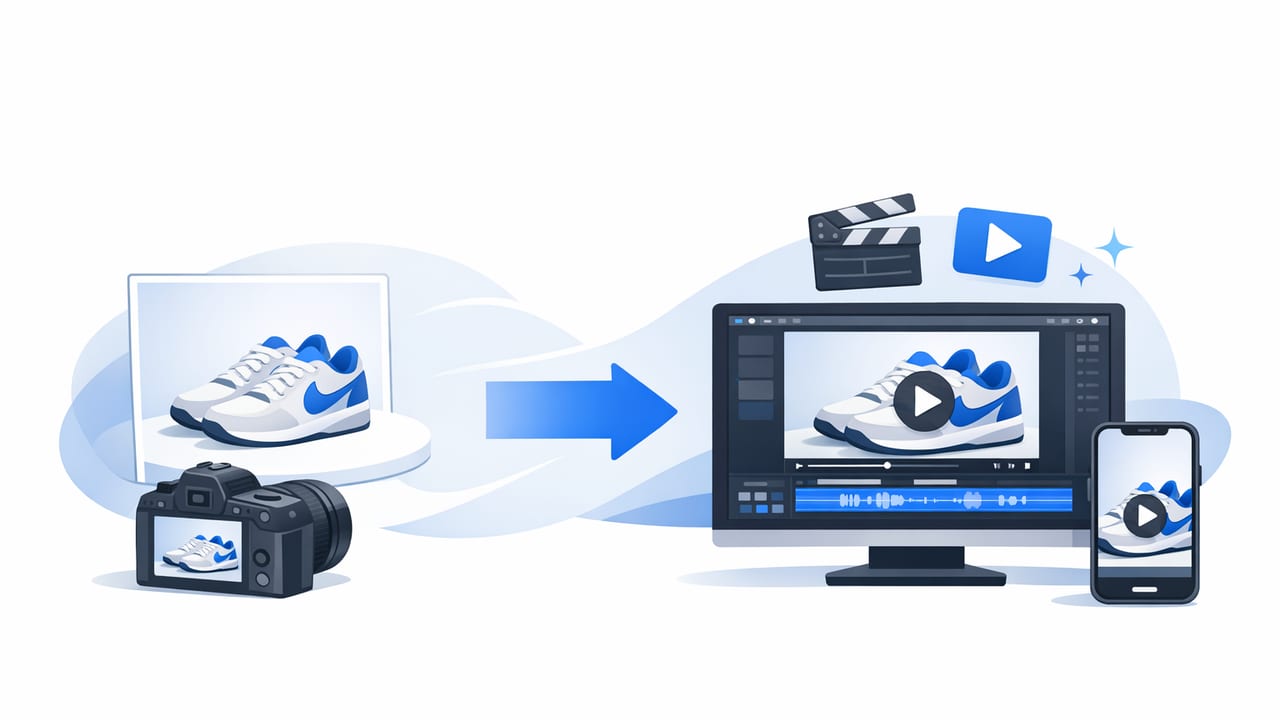
Turning still images into motion is no longer “nice to have.” For ecommerce teams, social marketers, and performance advertisers, product photo to video software can unlock more placements, better storytelling, and faster creative iteration—without requiring a full production crew.
This guide breaks down what matters most when evaluating tools, how to build a repeatable workflow, and which metrics actually prove impact across ads, PDPs, and social channels.
Why photo-to-video works for product marketing
Product photography is great for clarity, but video adds sequencing: you control the order in which the viewer learns what the product is, why it’s different, and how it fits their life. Photo-to-video formats can outperform static when you need:
- Speed: launch new creatives weekly (or daily) without reshoots.
- Consistency: keep typography, pacing, and brand elements uniform across SKUs.
- Coverage: generate multiple aspect ratios and lengths from the same photo set.
- Story: demonstrate benefits via sequencing, overlays, and light motion effects.
Rule of thumb: photos explain what a product is; short videos explain why it matters now.
What “good” product photo to video software should do
Not all tools are built for product marketing. Some are general slideshow makers; others are ad-creative platforms; others focus on automation and templating. Use the criteria below to shortlist options that fit your team.
1) Output formats that match real placements
Your tool should export in the specs you actually need, not just “MP4.” Look for:
- Aspect ratios: 9:16, 1:1, 4:5, 16:9
- Durations: 6–10s, 15s, 30s variants
- Safe areas: guides for UI overlays (especially vertical)
- File size control: compression options without destroying text readability
2) Motion that helps the product (not distracts)
Effective photo-to-video isn’t about flashy transitions; it’s about directing attention. Prioritize tools that offer:
- Ken Burns/pan-zoom with precise easing
- Layered animations for callouts (arrows, circles, highlights)
- Background control (blur, color fields, subtle gradients)
- Timing controls per scene (not one duration for everything)
3) Brand consistency at scale
Brand drift kills trust and makes creative testing noisy. The best product photo to video software supports:
- Brand kits: fonts, colors, logo placement, CTA styles
- Templates: reusable structures (hook → benefit → proof → CTA)
- Bulk creation: swapping photos and copy across multiple SKUs
4) Text and captions that are built for mobile
Most product videos are watched without sound. You want readable typography and caption options:
- Auto-line breaks and text scaling
- Caption styling (background boxes, strokes, shadows)
- Multi-language variants if you sell internationally
5) Workflow: approvals, versions, and collaboration
If your team is more than one person, collaboration matters. Evaluate:
- Comments/annotations per timestamp
- Version history (v1, v2, v3 without duplicating chaos)
- Share links for review
- Role permissions (edit vs view)
6) Licensing and asset management
If the software includes music, stock, or voice features, confirm licensing for paid ads. Also check:
- Asset library organization by SKU or campaign
- Naming conventions and export presets
- Integration with cloud storage (where relevant)
Comparison table: how to evaluate tools quickly
Use this table as a quick scoring sheet when shortlisting options. (Score each category 1–5.)
| Category | What to check | Why it matters |
|---|---|---|
| Templates | Custom templates, locking brand elements | Prevents brand drift and speeds production |
| Motion controls | Zoom/pan easing, per-layer animation | Keeps attention on product details |
| Bulk creation | Batch swaps for images/text, CSV import | Enables SKU-scale campaigns |
| Exports | 9:16/1:1/4:5 presets, bitrate control | Reduces rework across channels |
| Collaboration | Commenting, versioning, share links | Faster approvals, fewer mistakes |
| Asset licensing | Music/stock usage rights for ads | Avoids takedowns and compliance issues |
A repeatable workflow: from photos to performance-ready video
Here’s a practical, team-friendly workflow you can use whether you’re making one hero video or dozens of variants.
Step 1: Choose a “message ladder” (not just a montage)
Before you animate anything, define the sequence of meaning. A simple ladder looks like:
- Hook: the most compelling outcome (1–2 seconds)
- Product clarity: what it is and who it’s for
- Benefits: 2–3 key reasons to care
- Proof: review snippet, guarantee, ingredient, spec
- CTA: what to do next (shop, learn, compare)
Step 2: Audit your product photos for “motion potential”
Not every photo is equally useful in video. Choose frames that support zooms and callouts:
- Wide hero on clean background (best for opening)
- Detail close-ups (texture, buttons, seams, ingredients)
- Context/lifestyle (scale and usage)
- Packaging/unboxing elements (trust and expectation setting)
Tip: If you only have packshots, you can still create variety by alternating crops (wide → medium → close) and using clean text overlays.
Step 3: Build 3 template types you can reuse
Instead of reinventing each time, create templates aligned to common objectives:
- Direct response: fast pacing, bold benefit text, strong CTA
- Explainer: slower pacing, more labeling, clear proof slide
- UGC-style captioned: conversational text overlays, “problem → fix” flow
Step 4: Produce variants intentionally (A/B testing, not chaos)
When your product photo to video software makes variants easy, it’s tempting to spin dozens. Keep it structured:
- Change one variable at a time (hook, first line, CTA, offer badge).
- Create a naming convention (SKU_Audience_Hook_V1_916).
- Export in two lengths (e.g., 8s and 15s) per concept.
Step 5: Add platform-ready details
- Safe-zone check for vertical placements
- Captions or on-screen text for silent viewing
- End card with product name + CTA + URL (short, readable)
Creative checklist for higher brand engagement
Use this list during review to catch the common issues that make photo-to-video feel “template-y.”
- Is the first frame understandable without audio?
- Can a viewer name the product in 2 seconds?
- Does each scene earn its place? Remove filler slides.
- Is text large enough on a phone? If unsure, increase size.
- Are benefits specific? “Smoother skin in 7 days” beats “Feels great.”
- Is proof concrete? Reviews, numbers, ingredients, specs, warranty.
- Is there one clear CTA? Too many CTAs dilute action.
How to measure success: KPIs that map to each channel
Video performance depends on where it runs. Pick metrics that match the goal.
Paid social / short-form ads
- Thumbstop rate (e.g., 2-second views / impressions)
- Hook retention (drop-off in first 3 seconds)
- CTR and CPA/ROAS (business outcomes)
- Hold rate (e.g., 25% and 50% video plays)
Product detail pages (PDP) and ecommerce
- Add-to-cart rate uplift vs static-only PDP
- Conversion rate and return rate (expectation setting)
- Time on page and scroll depth (secondary signals)
Organic social and creator-style content
- Average watch time
- Saves/shares (often stronger than likes)
- Profile actions (visits, clicks) after posting
Practical tracking: add UTMs so you can attribute variants
When you publish multiple photo-to-video variants, clean tracking prevents guesswork. Here’s a simple way to standardize UTM links per creative:
https://example.com/product/widget
?utm_source=meta
&utm_medium=paid_social
&utm_campaign=widget_launch
&utm_content=hook_benefit_zoom_v3_916
Keep utm_content aligned with your naming convention so you can quickly see which hooks and formats win.
Common mistakes (and how to fix them)
Too many transitions
Fix: Use one or two transition styles max, and let the product and copy do the work.
Text overload
Fix: One idea per scene. If it doesn’t fit in a single breath, split it.
No proof
Fix: Add one “trust slide”: rating snippet, guarantee badge, key spec, or comparison chart.
Generic hooks
Fix: Start with an outcome, a “before/after” promise, or a specific pain point the product solves.
How to choose the right tool for your team size
- Solo founders: prioritize templates, speed, and export presets.
- Small marketing teams: prioritize collaboration, brand kits, and repeatable workflows.
- SKU-heavy ecommerce: prioritize bulk creation, asset management, and variant tracking.
- Agencies: prioritize multi-brand support, approvals, and permissions.
Final takeaway
The best product photo to video software isn’t the one with the most effects—it’s the one that helps you ship consistent creative, iterate quickly, and measure outcomes confidently. Build a template library, keep variants structured, and tie every export to a clear KPI.
If you’re exploring tools in this category, platforms like UGCMade are part of the broader shift toward making high-quality photo-to-video production faster and more accessible for marketers.
