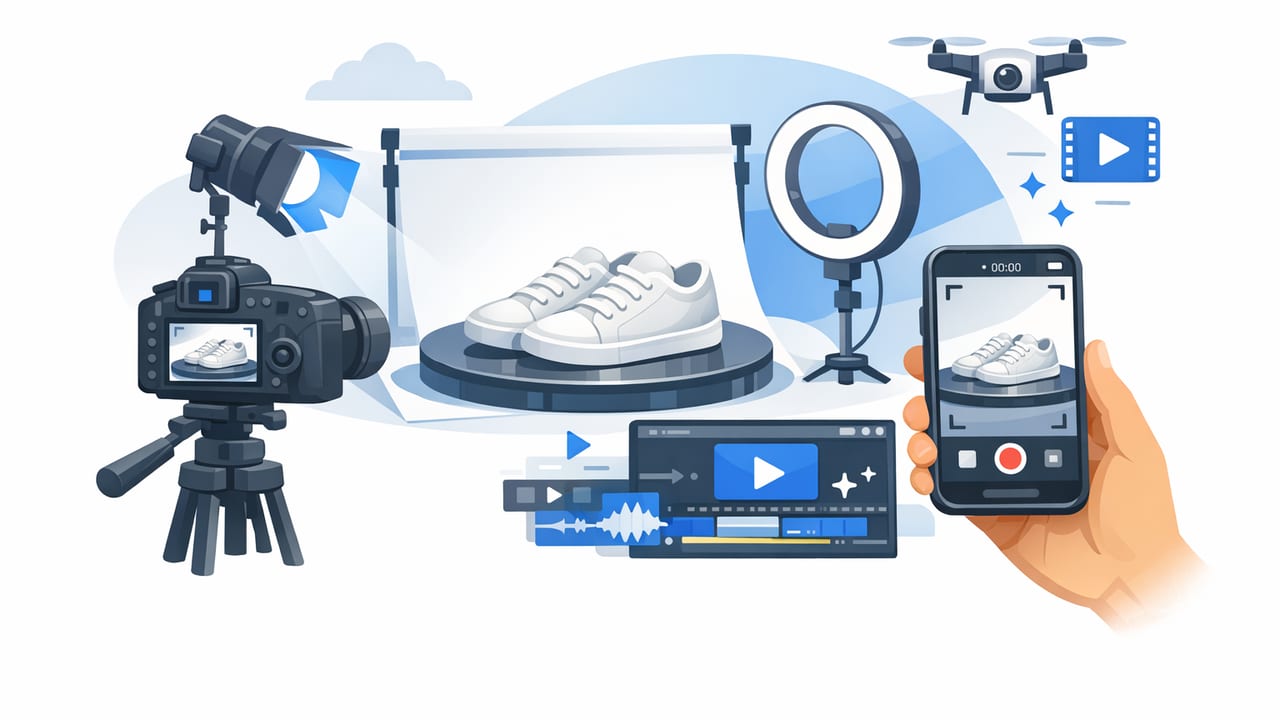
A strong product photo video turns your best product photography into motion-first storytelling—without requiring a full video shoot every time you launch a colorway, bundle, or seasonal offer. If you already have clean stills (packshots, lifestyle photos, flat lays, detail macros), you can repurpose them into short-form videos that feel native on social feeds, elevate product pages, and scale creative testing faster.
This guide walks through a practical, repeatable workflow: what to capture in photography, how to plan motion and sequencing, which formats to export, and how to test variations for performance. The goal is simple: make your photos work harder across video marketing and content creation.
Why product photo videos work (even when you don’t film new footage)
Modern platforms reward motion because it increases time-on-content and communicates benefits quickly. But motion doesn’t have to mean “new filming.” When done well, photo-based videos can deliver:
- Speed: launch new creatives in hours, not weeks.
- Consistency: reuse your established product photography style and brand guidelines.
- Scalability: create multiple hooks, angles, and offers from the same asset set.
- Clarity: overlay text and icons to explain features faster than a single image can.
“Great creative isn’t only about what you show—it’s about the order you show it in.”
Step 1: Start with photo assets that are built for motion
A product photo video is only as good as the stills you feed it. Before editing, verify you have a balanced set of images that can support a narrative.
Photo checklist for video-ready storytelling
- Hero packshot: clean product on neutral background (front + slight angle).
- Detail macros: close-ups that prove quality (texture, stitching, ingredients, ports).
- In-use/lifestyle: product in context (hands holding it, on a desk, in a bag).
- Scale reference: size cues (next to a phone, on a person, in a room).
- Variant coverage: key colors/sizes/bundles, ideally same composition for quick cuts.
- Negative space: a few photos with room for text overlays (top/bottom thirds).
Tip: capture or export at higher resolution than you need. It gives you flexibility for panning/zooming (the “Ken Burns” effect) without visible blur.
Step 2: Map photos to a simple storyboard (hook → proof → offer)
Photo-based videos perform best when they follow a tight sequence. You can do this with a lightweight storyboard that determines which image appears when, and what text or motion supports it.
A repeatable 8–12 second structure
- Hook (0–2s): pattern interrupt + outcome.
- Product reveal (2–4s): hero packshot with brand-consistent framing.
- Proof (4–8s): 2–3 quick cuts of details, use-cases, or social proof.
- Offer/CTA (8–12s): benefit + next step (shop, learn more, view colors).
Hook ideas tailored for photo-first videos
- Problem-first: “Tired of __?” paired with a lifestyle photo showing the pain point.
- Outcome-first: “Get __ in 30 seconds” over a clean hero shot.
- Feature shock: “It’s only __ grams” or “Holds __ items” over a scale reference photo.
- Comparison: “Old way vs new way” using two similar compositions.
Step 3: Add motion that feels native (without over-editing)
Motion should guide attention, not distract. In a product photo video, subtle movement can create the perception of depth and momentum while keeping the product clear.
High-performing motion techniques for stills
- Micro-zooms: 3–8% zoom in/out on hero and detail shots.
- Directional pans: pan across a wide lifestyle image to “discover” the product.
- Cut on meaning: cut when the text changes, not just on a beat.
- Shape reveals: use simple masks to reveal detail macros (circle highlight, underline, arrows).
- Parallax (optional): separate foreground/background layers for depth—but only if it stays realistic.
Editing guideline: if your text overlay is doing the explaining, keep the motion minimal. If the photo is doing the explaining (like a macro detail), let the camera move slightly to emphasize texture or build quality.
Step 4: Write overlays like performance copy (short, scannable, specific)
Text overlays are the engine of most photo-based creative. Treat them like ad copy: specific benefits, fast comprehension, minimal fluff.
Overlay rules that improve clarity
- One idea per screen: don’t stack three benefits in 1.5 seconds.
- Use numbers: “12-hour hold,” “3 attachments,” “Under 2 lbs.”
- Mirror how customers talk: borrow phrases from reviews and FAQs.
- Design for thumbs: large font, high contrast, safe margins for UI overlays.
Example overlay set (template)
- Hook: “Messy desk? Fix it in 10 seconds.”
- Benefit: “Cable management that actually stays put.”
- Proof: “Strong adhesive • Clean removal • Fits most surfaces”
- CTA: “Pick your color →”
Step 5: Export the right formats for each placement
One of the most common mistakes is making a single edit and pushing it everywhere. You’ll get better results by adapting the same core sequence to a few key aspect ratios and durations.
| Placement | Best Aspect Ratio | Typical Duration | What to optimize |
|---|---|---|---|
| Short-form social (feeds/stories) | 9:16 | 6–15s | Hook speed, large text, tight crops |
| Paid social (some placements) | 4:5 | 10–20s | Readable overlays, proof sequence, CTA |
| Product pages | 1:1 or 16:9 | 15–30s | Feature clarity, fewer jump cuts, trust signals |
| Email / landing page embeds | 16:9 | 10–20s | Fast load, clear headline frame |
Export tips: keep file sizes reasonable, ensure text stays within safe areas, and always preview on mobile before publishing.
Step 6: Build a testing matrix (so you don’t guess what works)
If you want repeatable wins, test variations systematically. A product photo video is perfect for creative testing because you can swap hooks, overlays, or sequencing without reshooting.
What to test first (highest impact)
- Hook frame: which photo starts the video?
- Hook line: problem-first vs outcome-first vs comparison.
- Proof type: detail macros vs lifestyle vs review snippets.
- CTA style: “Shop now” vs “Choose your color” vs “See how it works.”
A simple naming convention (for teams and testing tools)
Consistent names prevent confusion when you’re running multiple edits across platforms.
brand_product_angle_hook_proof_cta_ratio_v01.mp4

Example:
acme_bottle_cold24h_outcome_macro_choosecolor_9x16_v03.mp4
Step 7: Common mistakes (and how to fix them)
- Mistake: too much motion blur or aggressive zooms.
Fix: keep motion subtle (micro-zooms), prioritize legibility. - Mistake: starting with a logo or slow intro.
Fix: lead with outcome, problem, or strongest visual proof. - Mistake: text overload.
Fix: one benefit per screen; use icons + short phrases. - Mistake: inconsistent photo styles (lighting/background varies widely).
Fix: group photos by set; build separate videos per set for cohesion. - Mistake: no “why now.”
Fix: add urgency carefully: limited colors, bundle savings, seasonal relevance.
Mini example: turning 6 photos into one product photo video
Imagine you have six images: hero packshot, lifestyle in-hand, two macros, size reference, and a variant lineup. Here’s a clean sequence:
- 0–1.5s: Lifestyle (problem/outcome hook overlay)
- 1.5–3s: Hero packshot (product name + key promise)
- 3–5s: Macro #1 (feature highlight + icon)
- 5–7s: Macro #2 (quality proof + short spec)
- 7–9s: Size reference (fit/compatibility reassurance)
- 9–12s: Variant lineup (colors/flavors) + CTA
That’s enough to communicate value, prove it, and give a next step—without a single frame of filmed footage.
How to keep the workflow efficient across launches
The fastest teams treat photo-to-video like a system:
- Maintain a shot list for every new product so you always capture video-ready photos.
- Create a reusable template for typography, safe margins, and transitions.
- Store overlays as components (benefit pills, icons, review stars) to speed editing.
- Document what wins (best hooks, best proof frames) and reuse patterns.
Conclusion
A high-performing product photo video doesn’t require complex animation or a full production crew. With the right photo set, a tight hook-to-proof sequence, clear overlays, and a simple testing plan, you can turn still images into motion assets that support brand engagement across social, ads, and ecommerce.
If you’re looking for a streamlined way to convert product photos into engaging videos as part of your content creation workflow, tools like UGCMade can help you produce consistent photo-based video variations faster.
