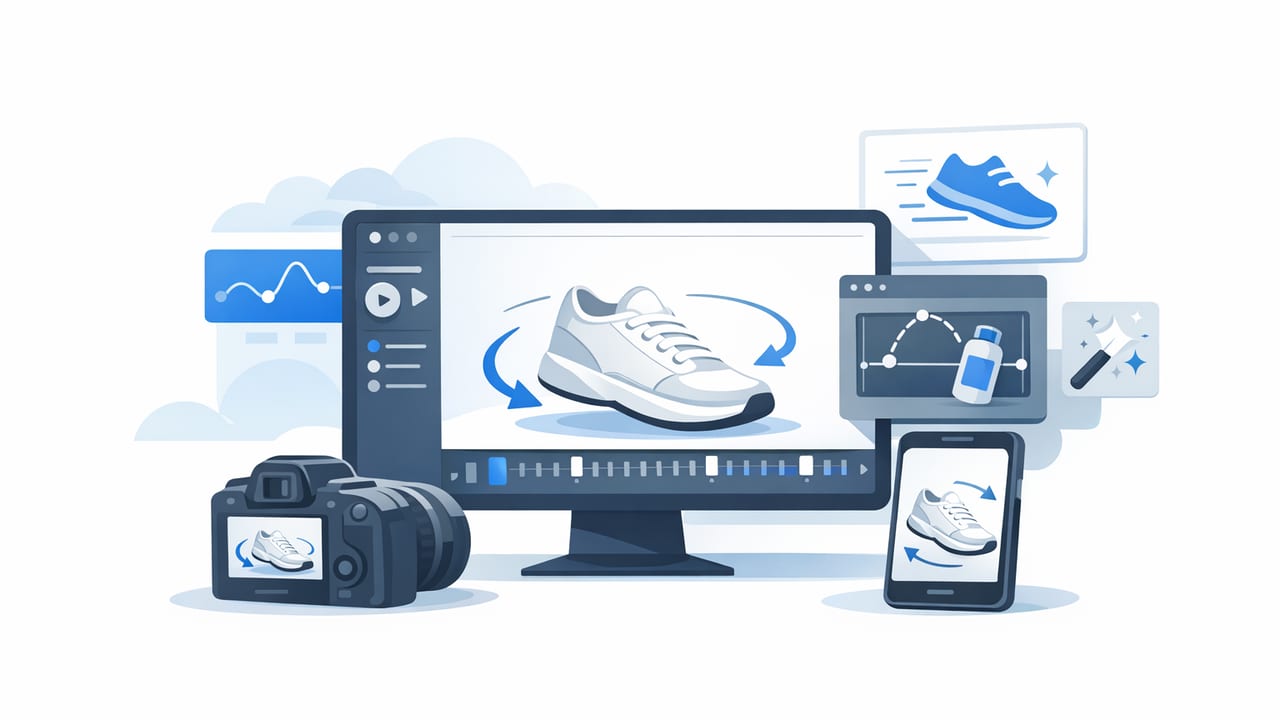
Still product photos are essential for ecommerce and catalogs, but they don’t always communicate motion, texture, scale, or use-case fast enough for today’s scroll-heavy feeds. That’s why many brands now rely on software to animate product photos—tools that transform static images into short, engaging videos designed for ads, product pages, and social.
This guide explains what “photo animation” actually means in a marketing context, which features matter most, and a repeatable workflow you can use to turn a folder of product photography into polished, on-brand video content.
What “animating product photos” really means (and what it’s not)
Animating product photos typically means creating motion from still images without needing a full video shoot. Depending on the tool and your inputs, that motion can be:
- 2.5D movement (pan/zoom/parallax) to simulate camera motion
- Layered animation (separating product/background/text) for depth
- Template-driven scenes that place photos into pre-built video layouts
- Text and graphic overlays (prices, benefits, callouts, icons)
- Transitions (cuts, wipes, match moves) that create pacing
It’s not the same as fully synthetic 3D rendering. Instead, it’s a practical way to increase attention and comprehension while staying close to real product photography.
Rule of thumb: if your viewer can understand the product and its value in under 3 seconds, you’re on the right track.
Why animated product photos outperform static images in many placements
Video formats often win premium placements across social and many ad networks. But beyond distribution advantages, animation helps solve common product-photo limitations:
- Shows details faster: subtle zooms and callouts guide the eye to materials, texture, or features.
- Creates “use momentum”: sequencing multiple angles suggests how the product fits into real life.
- Boosts message clarity: on-screen text can summarize benefits where a caption might be missed.
- Improves creative variety: you can generate multiple cuts (hooks, lengths, aspect ratios) from the same photo set.
Core use cases for photo-to-video animation
1) Product page videos
Short clips can reduce uncertainty by highlighting size, finish, components, or what’s included—especially helpful for higher-consideration items.
2) Paid social ads
Animated sequences can be tested rapidly: different hooks, different value propositions, different product angles—without reshooting.
3) Marketplace listings and catalogs
If you manage many SKUs, templated animation helps maintain consistency while scaling output.
4) Email and landing pages
Looping “micro-videos” or GIF-style animations can increase engagement when used carefully (and with optimized file sizes).
Features to look for in software to animate product photos
Not all tools are built for marketing performance. Use the checklist below to evaluate options based on your workflow and output needs.
Animation & scene controls
- Pan/zoom with easing: smooth motion feels premium; harsh linear movement feels automated.
- Parallax or depth effects: separates subject/background for a subtle 3D look.
- Object-aware framing: keeps the product centered and avoids cropping key details.
- Scene duration controls: per-scene timing, not just a single total duration.
Branding, templates, and consistency
- Reusable templates: consistent typography, spacing, and composition across SKUs.
- Brand kit support: fonts, colors, logo placement, safe zones.
- Layout variants: ability to output multiple styles from the same assets.
Output formats and channel readiness
- Aspect ratios: 9:16, 1:1, 16:9 (and ideally auto-reframe).
- Export settings: bitrate/fps control to balance quality and file size.
- Captions or text overlays: critical for sound-off viewing.
Scale and team workflows
- Bulk creation: generate many videos from a spreadsheet or folder structure.
- Versioning: produce multiple variants per SKU (hook A/B, offer A/B).
- Collaboration: comments/approvals, shared templates, permissions.
Comparison: tool categories (and when each makes sense)
| Tool type | Best for | Strengths | Trade-offs |
|---|---|---|---|
| Template-based photo-to-video platforms | Ecommerce teams producing many product clips | Fast, consistent output; easy brand control; scalable | Less fine-grained cinematic control |
| Motion design editors | Custom animations and high-touch creative | Maximum control over keyframes and effects | Slower; requires expertise; harder to scale |
| Mobile-first video apps | Quick social content and creator-style edits | Easy and fast; good for trends | Brand consistency and batch workflows can be limited |
| 3D/CGI pipelines | Products needing 360s, configurators, or realism at scale | Highly flexible, consistent lighting and angles | Upfront setup cost; not always photo-real without effort |
A repeatable workflow: from product photography to animated video
Use this workflow whether you’re creating one hero clip or hundreds of SKU videos.
Step 1: Start with the right photo set
Your animation quality depends on your inputs. Aim for:
- One clean hero image (front/3-quarter) with strong lighting
- 2–4 supporting angles (side, back, detail close-ups)
- Context image if applicable (in-use or lifestyle)
- Consistent backgrounds to make transitions feel intentional
Step 2: Decide the story in one sentence
Before you open any tool, write a one-sentence “video promise,” for example:
- “A cleaner kitchen in 10 minutes with a compact handheld steamer.”
- “A minimalist sneaker that stays comfortable all day.”
Step 3: Build a 6–12 second storyboard
Many high-performing product clips follow a simple structure:
- Hook (0–2s): big benefit, bold visual, or problem statement
- Proof (2–7s): angles + feature callouts + detail zooms
- Close (7–12s): offer, bundle, guarantee, or clear CTA
If your tool supports scene definitions, you can plan timing like this:
{
  "scenes": [
    {"asset": "hero.jpg", "duration_s": 1.8, "motion": "slow_zoom_in", "text": "Comfort that lasts all day"},
    {"asset": "detail1.jpg", "duration_s": 2.2, "motion": "pan_left", "text": "Breathable knit upper"},
    {"asset": "detail2.jpg", "duration_s": 2.2, "motion": "slow_zoom_out", "text": "Cushioned midsole"},
    {"asset": "lifestyle.jpg", "duration_s": 2.5, "motion": "parallax", "text": "Made for daily wear"},
    {"asset": "packshot.jpg", "duration_s": 2.0, "motion": "none", "text": "Shop now"}
  ]
}
Step 4: Choose animations that support clarity (not distraction)
Animation should guide attention. In practice:
- Use slow motion for premium products (beauty, jewelry, design goods).
- Use faster cuts for impulse buys (accessories, low-cost items).
- Reserve “flashy” transitions for trend-led creative, not evergreen PDP videos.
Step 5: Add text overlays designed for mobile
For sound-off viewing, overlays matter. Keep them readable:
- 5–8 words per line, maximum 2 lines on screen
- High contrast (dark scrim behind white text or vice versa)
- One message per scene (avoid stacking benefits)
Step 6: Export channel-specific variants
Don’t rely on one export for everything. Create:
- 9:16 for Reels/Shorts/TikTok
- 1:1 for some feeds and marketplaces
- 16:9 for YouTube placements and site embeds
Optimization tips that improve performance
Use “micro-movement” for authenticity
In many categories, subtle motion (1–3% zoom over ~2 seconds) feels more natural than heavy effects. It also preserves product detail and reduces compression artifacts.
Make the first frame work as a standalone image
Feeds often show a paused first frame. Ensure frame one contains the product clearly plus a readable promise (or a compelling visual hook).
Plan for safe zones
UI elements can cover text. Keep critical overlays away from edges, especially in 9:16 formats.
Measure the right KPIs
- Thumbstop / 2-second view rate: validates your hook
- Hold rate to 50%: indicates pacing quality
- CTR: checks message clarity and offer alignment
- CVR on landing/PDP: confirms the video matches on-page reality
Common mistakes (and how to avoid them)
- Too much text: replace paragraphs with punchy benefit bullets.
- Random motion: every pan/zoom should reveal something (material, component, scale).
- Inconsistent lighting across photos: normalize exposure/white balance before animating.
- One-size-fits-all pacing: test a 6–8s cut and a 12–15s cut for the same product.
Quick selection checklist
If you’re evaluating software to animate product photos, confirm you can answer “yes” to most of these:
- Can I create a good-looking video from only product photos?
- Can I keep brand consistency across many SKUs?
- Can I produce multiple aspect ratios without rebuilding from scratch?
- Can I create variants (different hooks/offers) quickly?
- Does the export quality hold up after platform compression?
FAQ
Do I need layered PSD files to animate product photos?
Not always. Many workflows work well with standard JPG/PNG sets. Layer support helps for advanced parallax and cutouts, but it isn’t required for effective marketing animations.
How long should a photo-animated product video be?
For ads, 6–12 seconds is a strong starting range. For product pages, 10–20 seconds can work if you’re showing inclusions, steps, or multiple angles.
Will animated photos look “fake”?
They can if motion is aggressive or transitions are overused. Subtle camera moves, consistent lighting, and clear typography usually produce a polished, believable result.
Closing thought
Great product photography is still your foundation—but animation helps that photography work harder across video-first channels. With the right software to animate product photos, a simple, repeatable storyboard, and disciplined design choices, you can produce scroll-stopping content that’s consistent, scalable, and measurable.
If you’re exploring platforms in this space, solutions like UGCMade are designed to turn product photos into engaging videos with a streamlined workflow.
