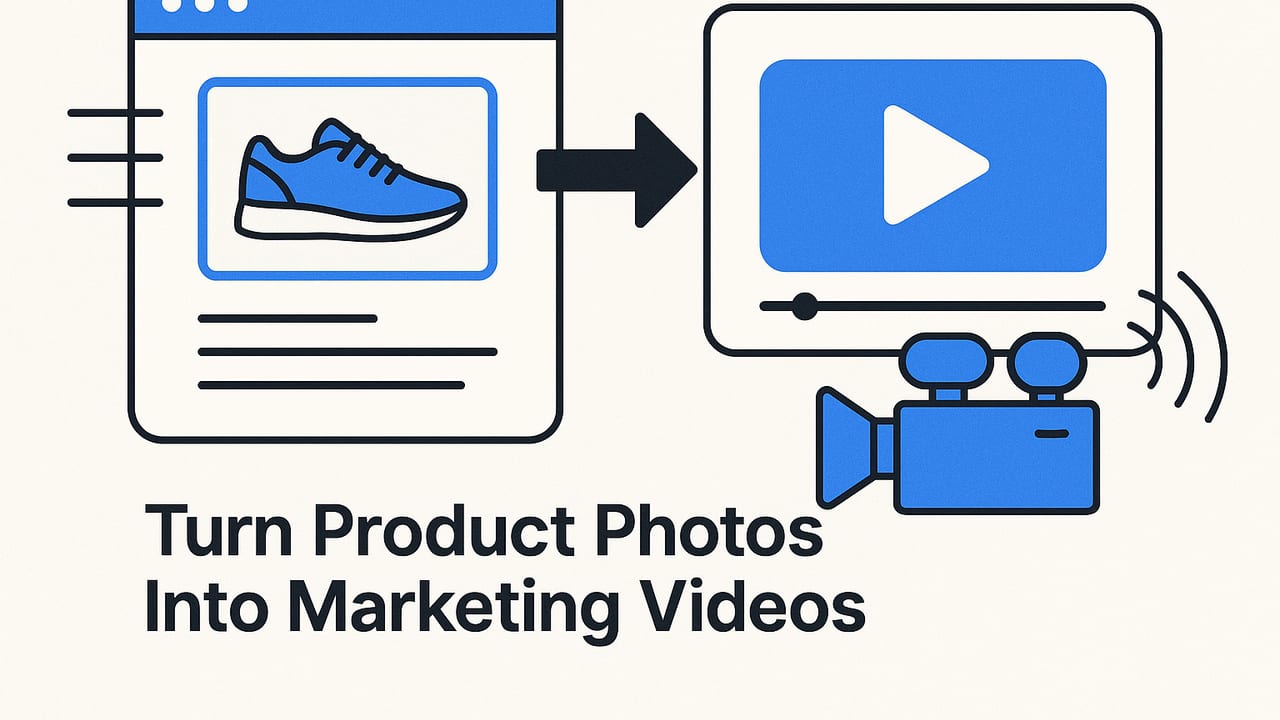
If you already have a library of high-quality product photos, you’re sitting on a goldmine. With the right workflow, you can turn product photos into marketing videos that capture attention, tell a compelling story, and convert viewers into customers—without a full production crew. This guide breaks down the strategy, creative techniques, and technical specs you need to transform still images into scroll-stopping video content across social platforms, ecommerce listings, and ads.
Why Transform Photos Into Videos?
Video is the language of today’s feeds. It earns more attention, is easier to remember, and communicates benefits faster than static images. The good news: you don’t need to reshoot everything. Modern motion techniques and lightweight tools can repurpose product photos into polished video assets that feel native to each platform.
- Repurpose at scale: Turn existing photo sets into multiple video formats.
- Tell a story: Sequence images to highlight benefits, proof, and outcomes.
- Improve recall: Motion, music, and captions make your message stick.
- Increase accessibility: Add subtitles and on-screen text to reach more viewers.
Tip: In fast feeds, motion is your first hook; clarity is your second. Combine both in the first two seconds.
Core Principles for Photo-to-Video Success
- Hook fast: Lead with the most visually striking image, bold text, or a surprising benefit.
- Design for clarity: Big, high-contrast text. Clean backgrounds. Clear focal point.
- Motion with purpose: Use pan/zoom and parallax to draw attention to key features.
- Platform-native: Format aspect ratio, captions, and duration for each channel.
- End with action: Always close with a simple, specific CTA.
Step-by-Step Workflow to Turn Product Photos Into Marketing Videos
- Audit your image library: Choose 5–12 photos that cover hero, detail, lifestyle, and proof (reviews, awards, before/after). Ensure at least one clean hero image and one close-up per key feature.
- Outline a story arc: Use a simple structure—Hook → Value → Proof → CTA. Assign 1–2 photos per step.
- Write micro-copy: Draft short, on-screen lines (4–7 words each). Keep one benefit per frame.
- Prep brand assets: Logo (transparent), color hex codes, product name lockup, end-card template.
- Choose motion: Ken Burns pan/zoom for drama, parallax for depth, masked reveals for polish.
- Set rhythm: Align photo transitions to a music beat or subtle whooshes every 0.8–1.5s.
- Add text overlays: Place within a safe area; use stroke or background plates for readability.
- Sound design: Pick a track that matches pace. Add soft whooshes or click accents on transitions.
- Export variants: Create 9:16 (vertical), 1:1 (square), and 16:9 (landscape) versions.
Platform Specs: Quick Reference
| Platform | Aspect Ratio | Recommended Duration | Captions/Subtitles | Safe Margins |
|---|---|---|---|---|
| TikTok | 9:16 (1080×1920) | 6–30s | Yes (burn-in or auto) | Top/bottom 250–300px |
| Instagram Reels | 9:16 (1080×1920) | 7–30s | Yes | Keep text center-safe |
| YouTube Shorts | 9:16 | 10–60s | Optional (recommended) | Center-safe for captions |
| Amazon Listing Video | 16:9 or 1:1 | 15–45s | Yes (burn-in) | No small text; clear CTA |
| Pinterest Idea Pins | 9:16 | 10–60s | Yes | Leave space for UI |
These are practical, widely used starting points. Always check each platform’s latest documentation for updates.
Creative Techniques to Add Motion to Stills
- Ken Burns effect: Slow pan/zoom from a wide product shot to a feature detail.
- Parallax depth: Separate foreground/background with masks or AI depth maps, then animate layers.
- Masked reveals: Wipe on a feature highlight or color swatch behind the product.
- Drop shadows & reflections: Animate subtle shadows to increase realism during movement.
- 360° illusion: Sequence multiple angle photos with eased transitions to mimic a spin.
- Before/after slider: Animate a vertical mask to compare results or finishes.
- Text as motion: Kinetic typography to emphasize benefits and pricing.
Messaging Frameworks That Convert
Use concise lines that pair with your images. Here are reliable frameworks:
AIDA (Attention, Interest, Desire, Action)
- Attention: “Remove frizz in 60 seconds.”
- Interest: “Ceramic plates lock in shine.”
- Desire: “Salon finish at home.”
- Action: “Tap to get yours.”
PAS (Problem, Agitate, Solve)
- Problem: “Bulky bottles crowding your counter?”
- Agitate: “Messy, hard to find what you need.”
- Solve: “Stackable glass jars—label, store, smile.”
Feature → Benefit → Proof → CTA
- Feature: “IPX7 waterproof.”
- Benefit: “Shower-safe listening.”
- Proof: “1,200+ five-star reviews.”
- CTA: “Add to cart.”
Storyboard and Caption Templates
Use structured templates to accelerate production and maintain consistency.
Storyboard JSON (example)
{
  "title": "Shine Serum 30s",
  "aspect": "9:16",
  "music": "clean_pop_112bpm",
  "scenes": [
    {"id": 1, "photo": "hero.jpg", "motion": "zoom_in_slow", "text": "Shine in 60 seconds", "duration": 3},
    {"id": 2, "photo": "texture.jpg", "motion": "pan_left", "text": "Lightweight, non-greasy", "duration": 2.5},
    {"id": 3, "photo": "before_after.jpg", "motion": "mask_wipe", "text": "Frizz to gloss", "duration": 3},
    {"id": 4, "photo": "ingredient.jpg", "motion": "parallax_depth", "text": "Argan + Vit E", "duration": 2.5},
    {"id": 5, "photo": "reviews.jpg", "motion": "zoom_out_fast", "text": "1,200+ love it", "duration": 2},
    {"id": 6, "photo": "cta.jpg", "motion": "hold", "text": "Tap to add to cart", "duration": 2}
  ]
}
Caption (.srt) snippet
1
00:00:00,000 --> 00:00:02,500
Shine in 60 seconds

2
00:00:02,500 --> 00:00:05,000
Lightweight, non-greasy

3
00:00:05,000 --> 00:00:07,500
Frizz to gloss
Branding Without Overpowering the Creative
- Color & type: Limit to 1–2 brand colors and a readable font at 42–60 px (vertical).
- Logo usage: Keep the logo subtle in a corner; go full logo on the end card.
- End card system: Consistent layout with product shot, value line, and CTA.
- Audio signature: A short sonic logo reinforces brand recall in the final second.
Editing Rhythm: Pacing That Feels Native
For short-form social, aim for brisk pacing with room to breathe on key benefits. A simple rule of thumb:
- Open with your hook image for 1.5–2.5 seconds.
- Alternate 0.8–1.5 second cuts for feature and lifestyle shots.
- Hold the end card for 1.5–2 seconds with a clear CTA.
Use easing (ease-in/out) on zooms and parallax to avoid robotic motion. Keep transitions consistent; variety comes from image content, not plug-in overload.
Optimization and Testing for Performance
Great creative is iterative. Test small changes to isolate impact:
- Variables to test: Hook image, headline line, first transition speed, color of CTA, music tempo.
- Metrics to watch: Hook rate (first 3s views), hold rate (25%/50%/100%), view-through rate, CTR, add-to-cart rate, ROAS.
- Naming & UTM: Encode variants in file names and use UTM parameters to track by creative.
Start with three variants of the first two seconds. Small improvements at the hook compound across the entire funnel.
Accessibility, Rights, and Compliance
- Captions: Always include. Many viewers watch with sound off.
- Alt text: Add meaningful alt text for product and context when platforms support it.
- Licensing: Ensure you own photo rights; document creator permissions for UGC.
- Claims: Keep benefits accurate and substantiated, especially in ads and marketplaces.
Common Pitfalls (and How to Fix Them)
- Text too small or low contrast: Increase font size; add a semi-opaque background plate.
- Flat-looking motion: Introduce parallax or masked reveals; add light whooshes.
- Overstuffed messaging: One benefit per frame. Move extra points to a carousel or landing page.
- Awkward crops: Design in 9:16 first; auto-crop to 1:1 and 16:9 using safe zones.
- No clear CTA: End on a benefit-aligned action: “Shop the set” beats “Learn more.”
Example: Turning a 6-Photo Set Into 4 Video Variants
Say you have: hero, lifestyle (kitchen), detail (texture), benefit graphic, review screenshot, and packaging.
- Variant A (Benefit-led): Hook with hero + big claim, then texture detail, review, CTA.
- Variant B (Proof-led): Open with review screenshot motion, then hero, benefit graphic, CTA.
- Variant C (Use-case): Start with lifestyle, overlay use-case line, cut to texture and packaging, CTA.
- Variant D (Offer): Lead with a limited-time overlay, then hero, benefit, review, CTA.
By changing only order, overlays, and pacing, you can generate diverse tests from the same photos.
Lightweight Tool Stack
- Planning: Sheets/Notion for shot lists and message maps.
- Editing: Capable mobile/desktop editors for pan/zoom, masks, and captions.
- Automation: AI tools for depth mapping, background removal, and smart resizing.
- Asset management: A clear folder structure: product → platform → variant → date.
If you prefer an AI-first path to speed, a platform like UGCMade can transform product photos into engaging videos with template-driven motion, parallax, and on-brand text styles while keeping exports aligned to platform specs.
Quick Checklist Before You Publish
- Does the first frame communicate a clear benefit?
- Is all text readable on a phone at arm’s length?
- Are captions accurate and synced?
- Do transitions align with the music beat?
- Is the CTA specific and visible for at least 1.5 seconds?
- Have you exported 9:16, 1:1, and 16:9 variants?
- Are UTM parameters appended for tracking?
Bottom Line
You don’t need a studio to make video that sells. With thoughtful sequencing, purposeful motion, clear messaging, and platform-aware exports, you can turn product photos into marketing videos that look native, feel premium, and consistently drive action. Start with your best images, design your first two seconds to hook, and iterate quickly. The compound gains from better hooks, clearer benefits, and tighter CTAs add up to meaningful lifts in engagement and conversions.
