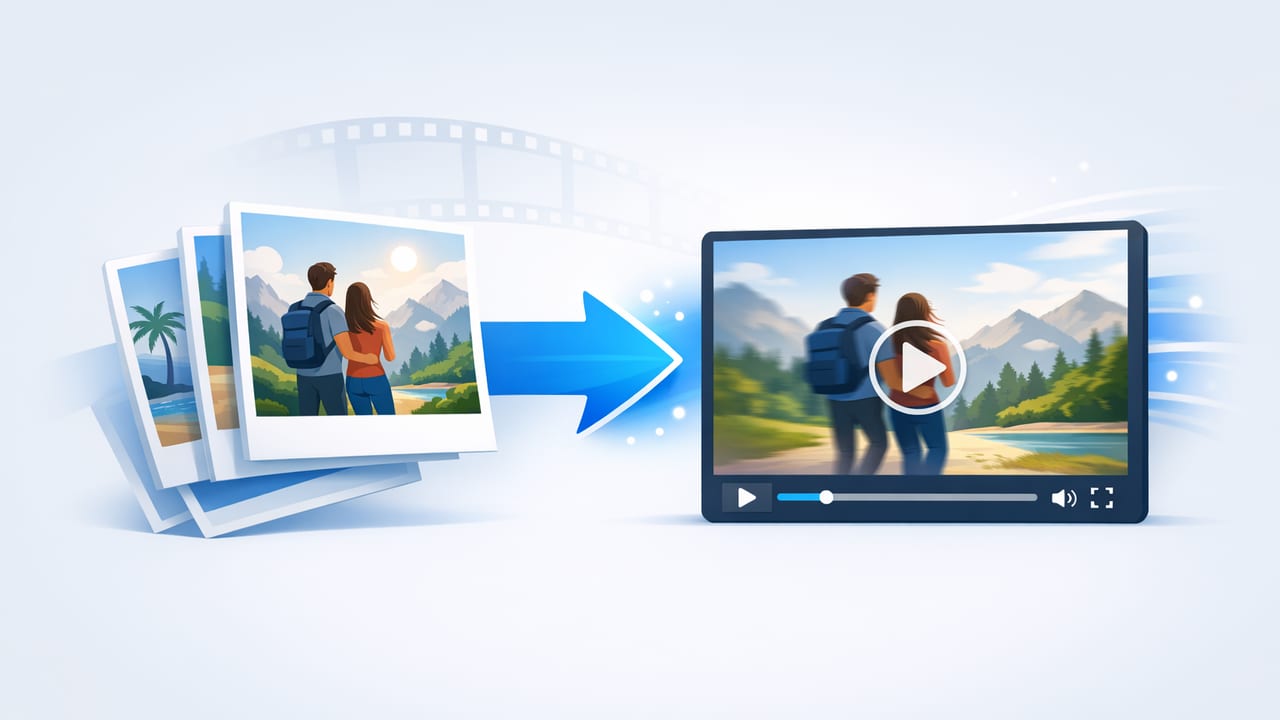
A video from photos is one of the fastest ways to turn existing product photography into high-performing marketing content—without reshoots, studio time, or complex production. Done well, it doesn’t feel like a slideshow. It feels like a story: a clear problem, a satisfying solution, and a reason to buy now.
This guide breaks down a repeatable, brand-safe workflow to transform still images into compelling videos for ads, product pages, email, and social—while keeping quality high and production efficient.
Why “video from photos” works (when it’s done right)
Modern video marketing rewards clarity and pace more than cinematic complexity. A photo-based video can outperform traditional footage when it:
- Communicates the value proposition fast (first 1–2 seconds).
- Shows product details crisply (photos are often sharper than handheld video).
- Builds trust with text overlays, comparisons, and proof points.
- Ships quickly for creative testing and iteration.
Rule of thumb: Your photos are the “what.” Your motion, captions, and sequencing are the “why it matters.”
The 10-step checklist: from product photos to a finished video
1) Choose one job for the video
Before editing, decide what the video must accomplish. Pick one primary goal:
- Introduce a new product
- Explain how it works
- Highlight benefits (not features)
- Handle objections (price, fit, durability, ingredients, etc.)
- Show variants (colors, sizes, bundles)
One video = one promise. If you try to cover everything, you’ll dilute the message and reduce retention.
2) Sort your photos into story “beats”
Most winning photo-to-video edits follow a simple narrative structure. Organize your photos into:
- Hook: the most scroll-stopping image (best angle, strongest outcome).
- Problem: what frustration does the customer have?
- Solution: your product as the answer.
- Proof: reviews, stats, certifications, before/after, comparison shots.
- Offer/CTA: what to do next (shop, learn more, pick a color).
3) Write a “silent-first” script (captions do the heavy lifting)
Many viewers watch without sound, so your on-screen text should carry the storyline. Keep captions tight:
- 3–7 words per line
- 1 idea per screen
- benefit-led (results, convenience, comfort)
Example caption sequence:
- “Tired of dull skin?”
- “Vitamin C + peptide glow”
- “Brighter in 14 days*”
- “Derm-tested. Fragrance-free.”
- “Pick your bundle →”
4) Prep images for motion (this is where quality is won)
Photo-based videos look premium when the assets are consistent. Before editing:
- Crop for platform (9:16, 1:1, 16:9) and keep the subject centered.
- Normalize exposure/white balance so frames don’t “flicker” when cut.
- Remove dust/imperfections that become obvious when zoomed.
- Export high-res (at least 2160px tall for 9:16 where possible).
5) Use motion with intent (avoid “template vibes”)
Motion should guide attention—never distract from the product. Good options:
- Slow push-in (Ken Burns) on hero shots to add depth.
- Swipe transitions to suggest browsing variants.
- Match cuts between similar angles to feel seamless.
- Masked reveals to highlight details (stitching, texture, UI screens).
Keep motion subtle and consistent across the edit; it signals “brand” more than you think.
6) Build a “benefit stack” with overlays
Photos show appearance; overlays communicate meaning. Consider layering:
- Icons (shipping, warranty, vegan, waterproof)
- Micro-callouts (“2mm edge,” “Holds 40oz,” “SPF 50”)
- Comparison labels (“Ours vs. typical”) on side-by-side images
Tip: If you have strong product photography but weak performance, it’s often because the benefit stack is missing.
7) Pick the right specs for each channel
Different placements reward different pacing. Use this table to avoid common formatting mistakes:
| Channel / Placement | Aspect Ratio | Recommended Length | Notes |
|---|---|---|---|
| Short-form social (Reels/Shorts/TikTok) | 9:16 | 6–15s | Fast hook, large text, tight cuts |
| Paid social feed | 4:5 or 1:1 | 10–20s | More room for proof + benefits |
| Product page (PDP) video | 1:1 or 16:9 | 20–45s | Clarity, features, variants, trust |
| Email embed / landing page | 16:9 | 10–30s | Front-load the value proposition |
8) Add sound as a multiplier (not a dependency)
Even when captions lead, sound increases perceived quality. Consider:
- Light music bed that matches your brand (don’t overpower)
- Subtle SFX for transitions, clicks, unbox moments
- Short voiceover for PDP or explainer variants (optional)
Always export with burned-in captions for social, even if you also upload an SRT.
9) Include proof without slowing the pace
“Proof frames” are where many edits stall. Keep them snappy:
- Show one review at a time with a highlight line.
- Use numeric anchors (“4.8★ from 12,340 customers”).
- Use badges (certified, lab-tested, warranty) as quick visual trust cues.
10) Export a testing set (don’t rely on one cut)
One of the biggest advantages of making a video from photos is iteration speed. Export 3–5 variants:
- Hook variants: different first image + first caption
- Pacing variants: 8s vs 12s vs 15s
- Angle variants: benefits-led vs proof-led
- Offer variants: bundle, free shipping, guarantee messaging
Common mistakes that make photo-to-video feel cheap
- Overusing transitions (every cut doesn’t need an effect).
- Too much text (viewers can’t read paragraphs at scroll speed).
- Inconsistent typography (use one font family and clear hierarchy).
- Random photo order (sequence should build understanding and desire).
- No CTA (tell people exactly what to do next).
A simple storyboard template you can reuse
Use this as a starting point for most products. Keep it short and specific:
1) Hook (0–2s): Best hero photo + biggest benefit
2) Problem (2–4s): Pain point or frustration
3) Solution (4–7s): Product name + how it helps
4) Details (7–10s): 2–3 feature callouts (icons/labels)
5) Proof (10–13s): Rating, review snippet, or comparison photo
6) Offer + CTA (13–15s): Bundle/guarantee/shipping + “Shop now”
Quick DIY method: generate a basic video from photos (command line)
If you need a fast internal draft (e.g., to validate sequencing), you can stitch images with ffmpeg. This won’t create fancy motion, but it’s useful for rapid previews:
# Put images in a folder as 001.jpg, 002.jpg, 003.jpg...
# Creates a 1080x1920 vertical MP4 at 30fps
ffmpeg -framerate 1/2 -i %03d.jpg -vf "scale=1080:1920:force_original_aspect_ratio=decrease,pad=1080:1920:(ow-iw)/2:(oh-ih)/2" \
  -r 30 -pix_fmt yuv420p output.mp4
Tip: Change -framerate 1/2 to control how long each photo stays on screen (here: 2 seconds per image).
How to measure performance (and what to fix)
To improve brand engagement and conversions, track metrics tied to each part of the story:
- Thumbstop / hook rate: If weak, swap the first image and simplify the first caption.
- 3-second view rate: If low, increase contrast, enlarge text, shorten the opening.
- Hold rate / completion: If drop-offs happen mid-video, tighten proof frames and reduce text.
- CTR: If low, clarify the offer and add a more direct CTA.
- Conversion rate: If low, add trust (reviews, guarantees) and show variants clearly.
Practical example: turning 8 photos into 3 platform-ready videos
Imagine you have: 2 hero shots, 2 detail shots, 2 lifestyle shots, 1 comparison image, 1 review screenshot. From this set, you can produce:
- 9:16 (10–12s) for short-form social: hero → problem → solution → review → CTA.
- 4:5 (15–20s) for paid feed: hero → benefits stack → detail callouts → comparison → CTA.
- 1:1 (25–35s) for PDP: hero → how it works → details → variants → proof → guarantee → CTA.
The photos stay the same; the sequence and overlays change based on intent.
Final checklist before you publish
- Hook communicates the main benefit in under 2 seconds
- Text is readable on mobile (test at arm’s length)
- Brand elements are consistent (font, colors, spacing)
- Proof is present (even minimal)
- CTA is explicit and appears at least once
- Export settings match placement (no black bars, no tiny captions)
Conclusion
Creating a high-performing video from photos is less about flashy effects and more about visual storytelling: choose a single goal, sequence images into a narrative, add purposeful motion, and layer concise proof-driven captions. The upside is speed—once your workflow is set, you can generate consistent content for ads, product pages, and social without constant reshoots.
If you want to streamline production further, tools that automate photo-to-video creation (such as UGCMade) can help you turn product photography into ready-to-test video variations faster—while you stay focused on messaging and creative strategy.
